How to Swap Out Stucco for Sleek New Siding
A Smart Plan for Changing Stucco to Siding
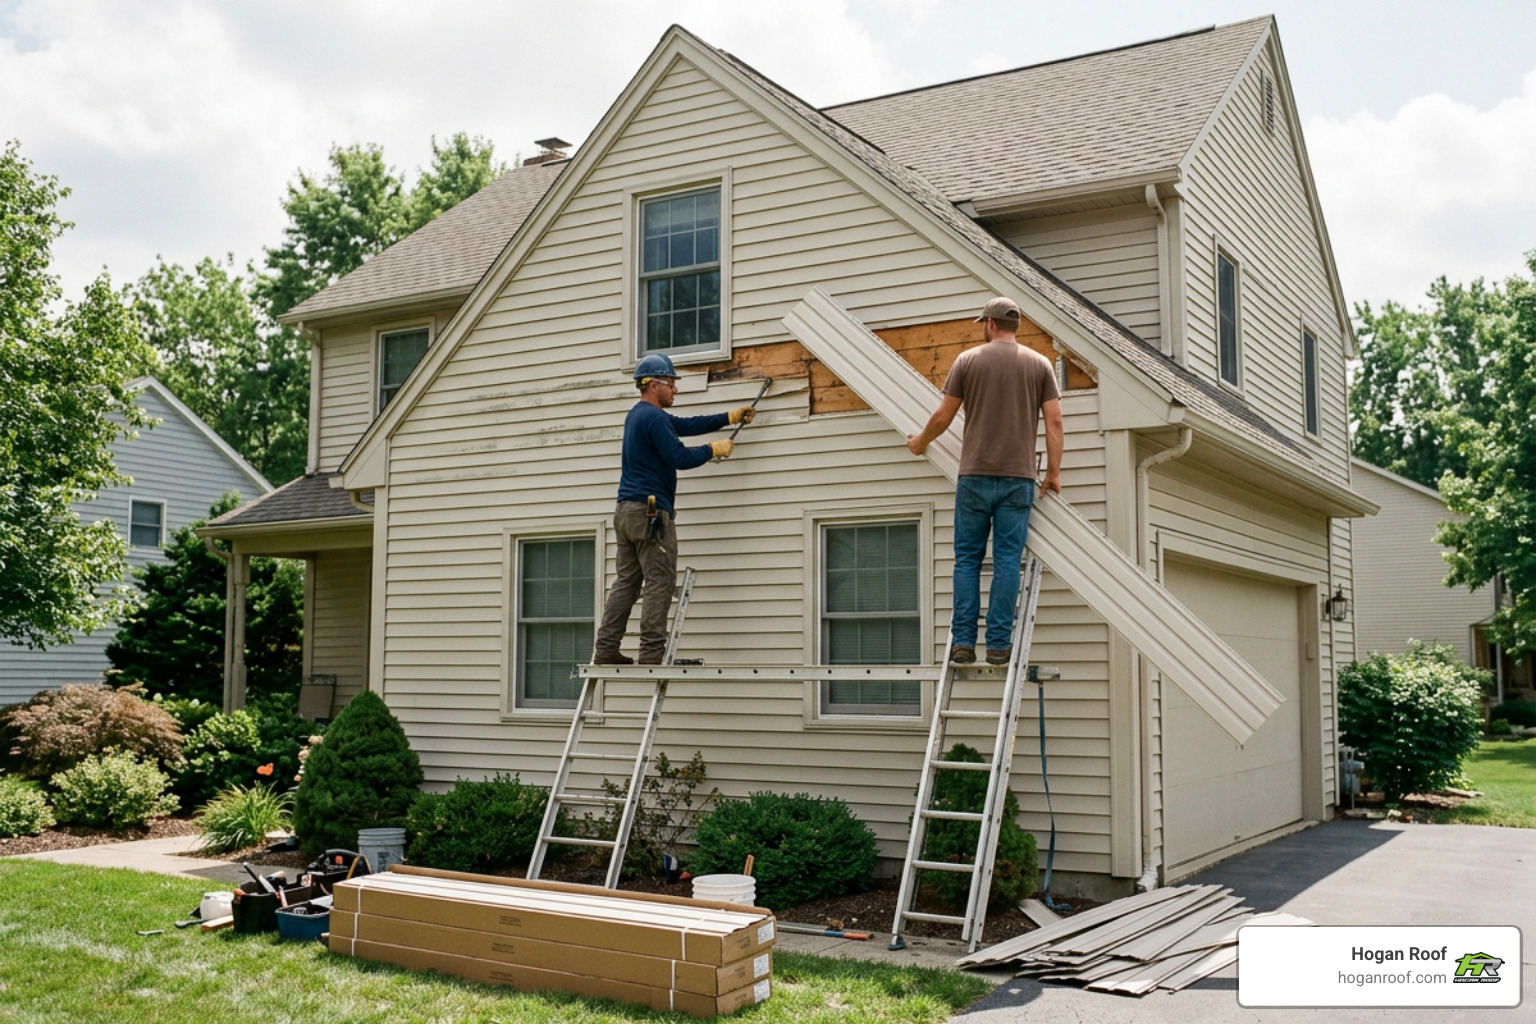
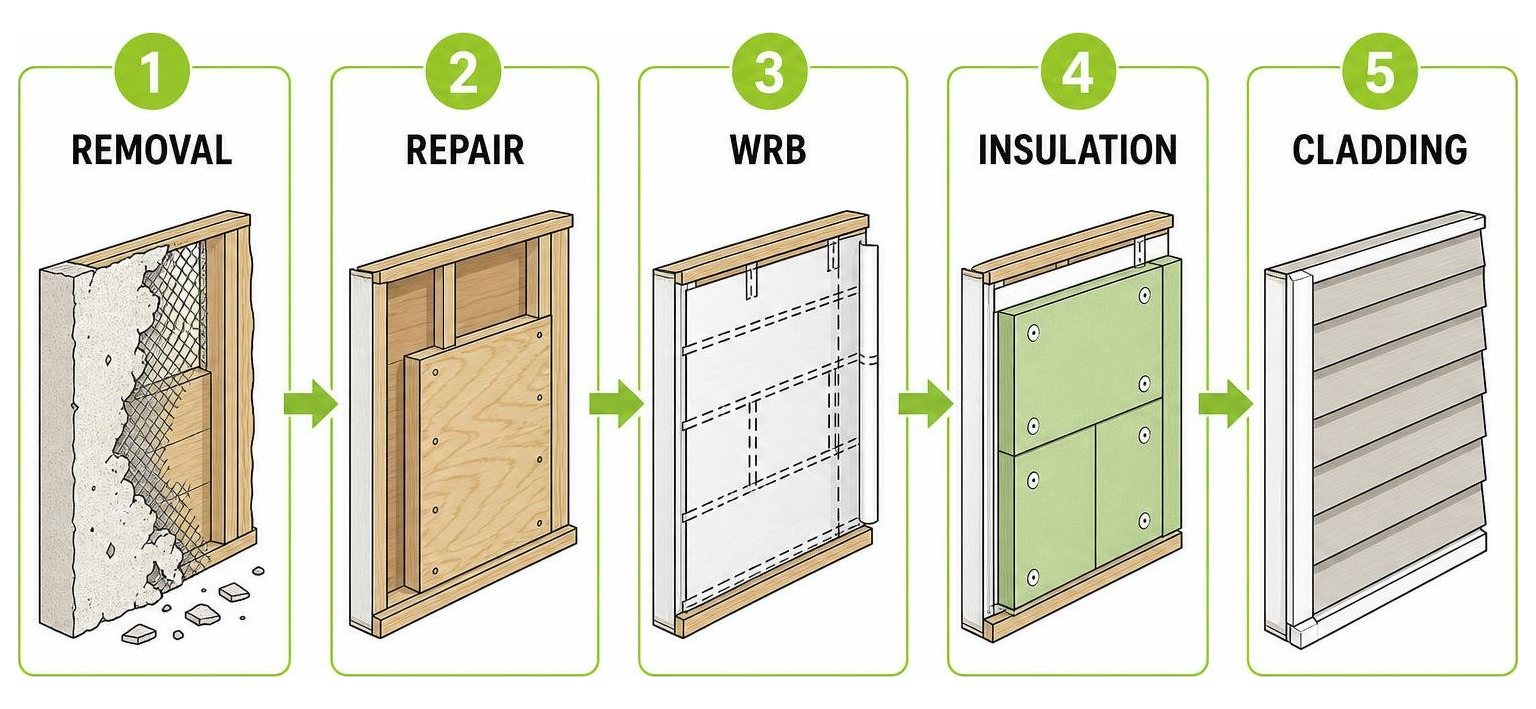
Changing stucco to siding usually starts with removing the old stucco, checking the wall for hidden moisture damage, repairing the sheathing and framing, adding a weather-resistant barrier, and then installing new siding and trim . Full removal is often the best long-term choice because it exposes rot, mold, failed flashing, or trapped moisture that siding installed over stucco could conceal.
For homes in the NY/NJ/CT tri-state area, this upgrade can also improve curb appeal and give you a chance to add insulation and a better drainage plane. Fiber cement, engineered wood, vinyl, and cedar are all possible choices, but the right material depends on your budget, design goals, maintenance expectations, and the condition behind the existing stucco.
I am Bill Hogan, owner of Hogan Roof, with more than 20 years of experience helping residential and commercial property owners protect their exteriors. In changing stucco to siding, our focus is on finding and fixing the wall issues first, then building a durable exterior that looks sharp and manages water correctly.
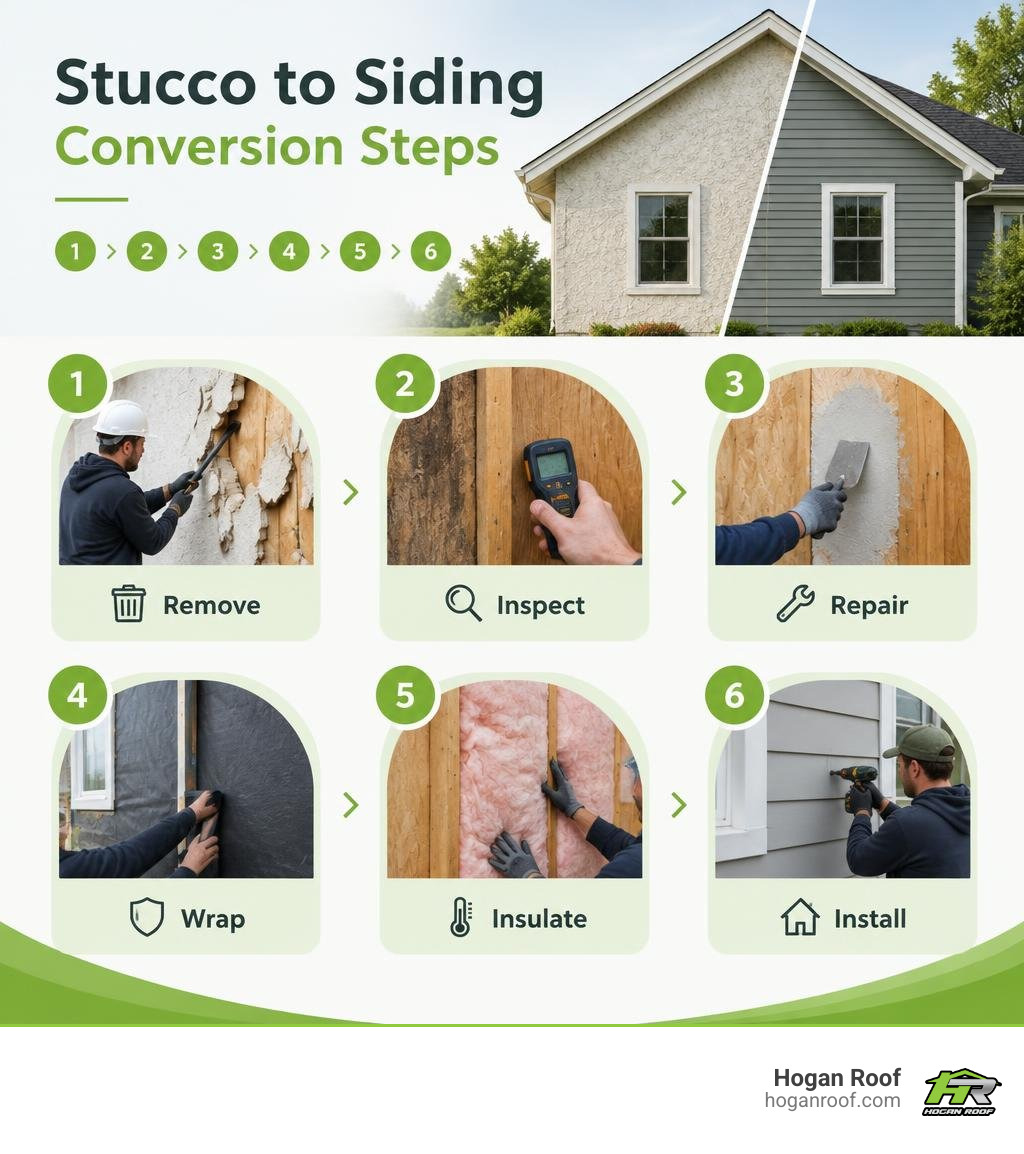
Simple changing stucco to siding word guide:
Why Homeowners Are Changing Stucco to Siding
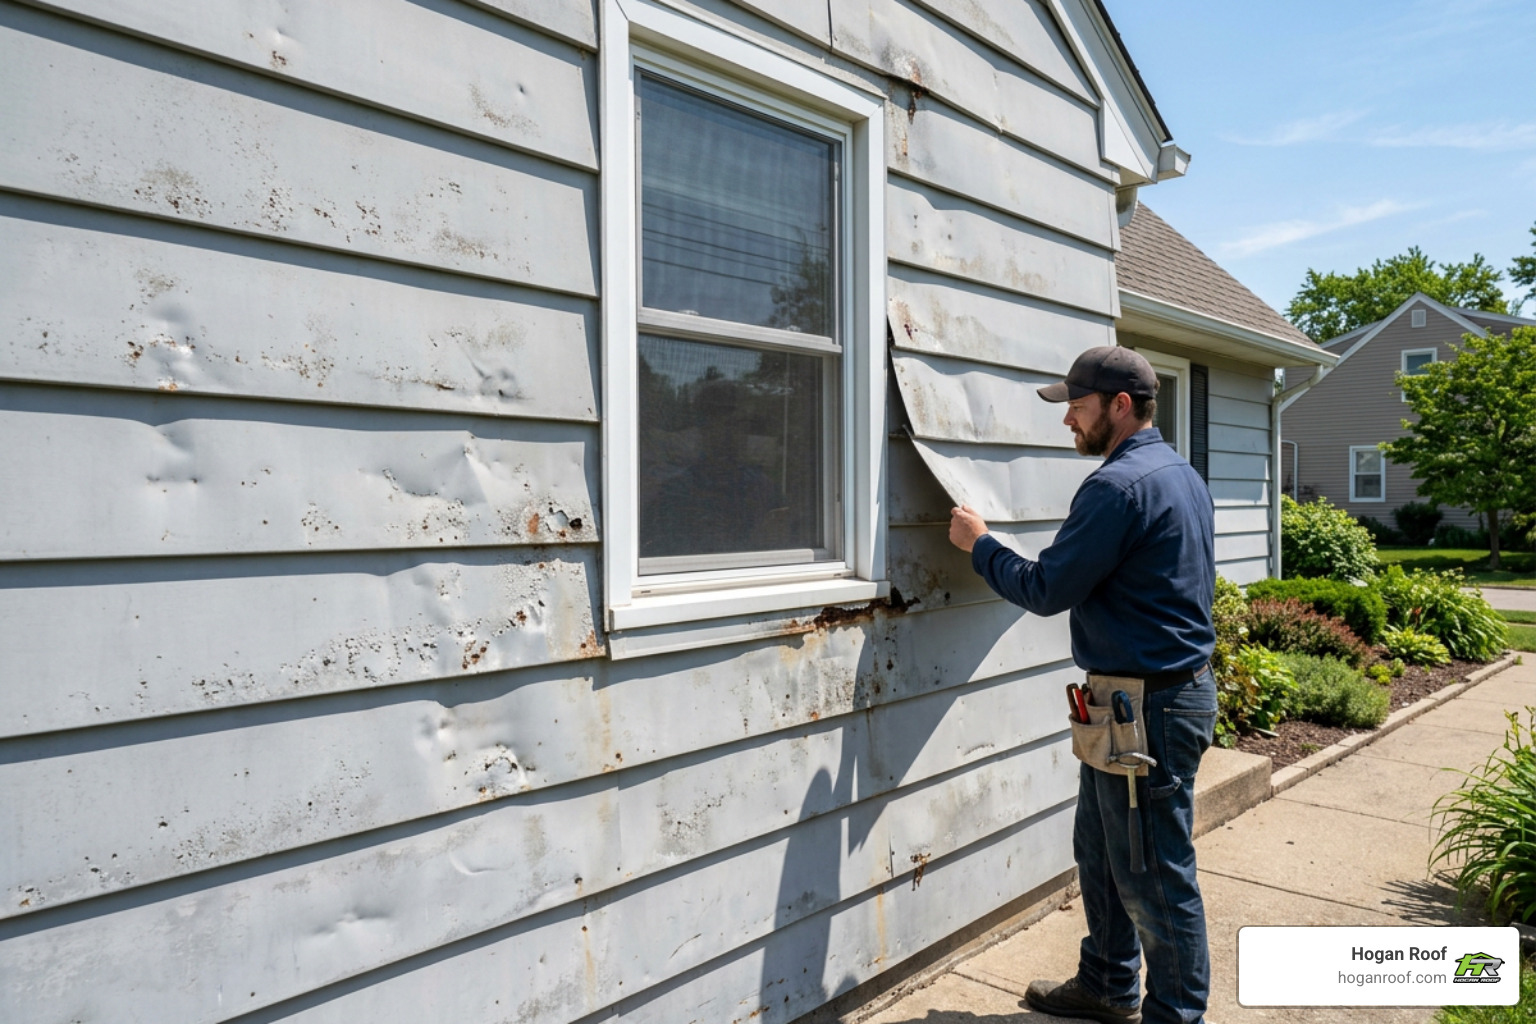
Stucco has long been admired for its seamless, classic appearance, but it presents real vulnerabilities in climates with pronounced seasons. In regions like the Northeast, persistent moisture, driving rain, and continuous freeze-thaw cycles place severe physical stress on masonry surfaces. When water penetrates hairline fissures in the outer finish, freezing temperatures cause that moisture to expand, widening small cracks into major structural fractures.
Beyond weather damage, the maintenance required to keep stucco functional is extensive. Homeowners find themselves stuck in an endless routine of power washing, patching hairline cracks, applying elastomeric coatings, and repainting every few years. When these regular interventions fail to keep moisture out, the resulting dampness creates an ideal breeding ground for mold, mildew, and wood decay behind the walls.
For an in-depth look at exterior upgrades, check out our comprehensive house siding replacement guide and review expert transition guidance from Allura. Modern siding profiles provide a clean aesthetic update that drastically reduces maintenance while creating a ventilated, drainable building envelope.
Traditional Stucco vs. Synthetic EIFS Vulnerabilities
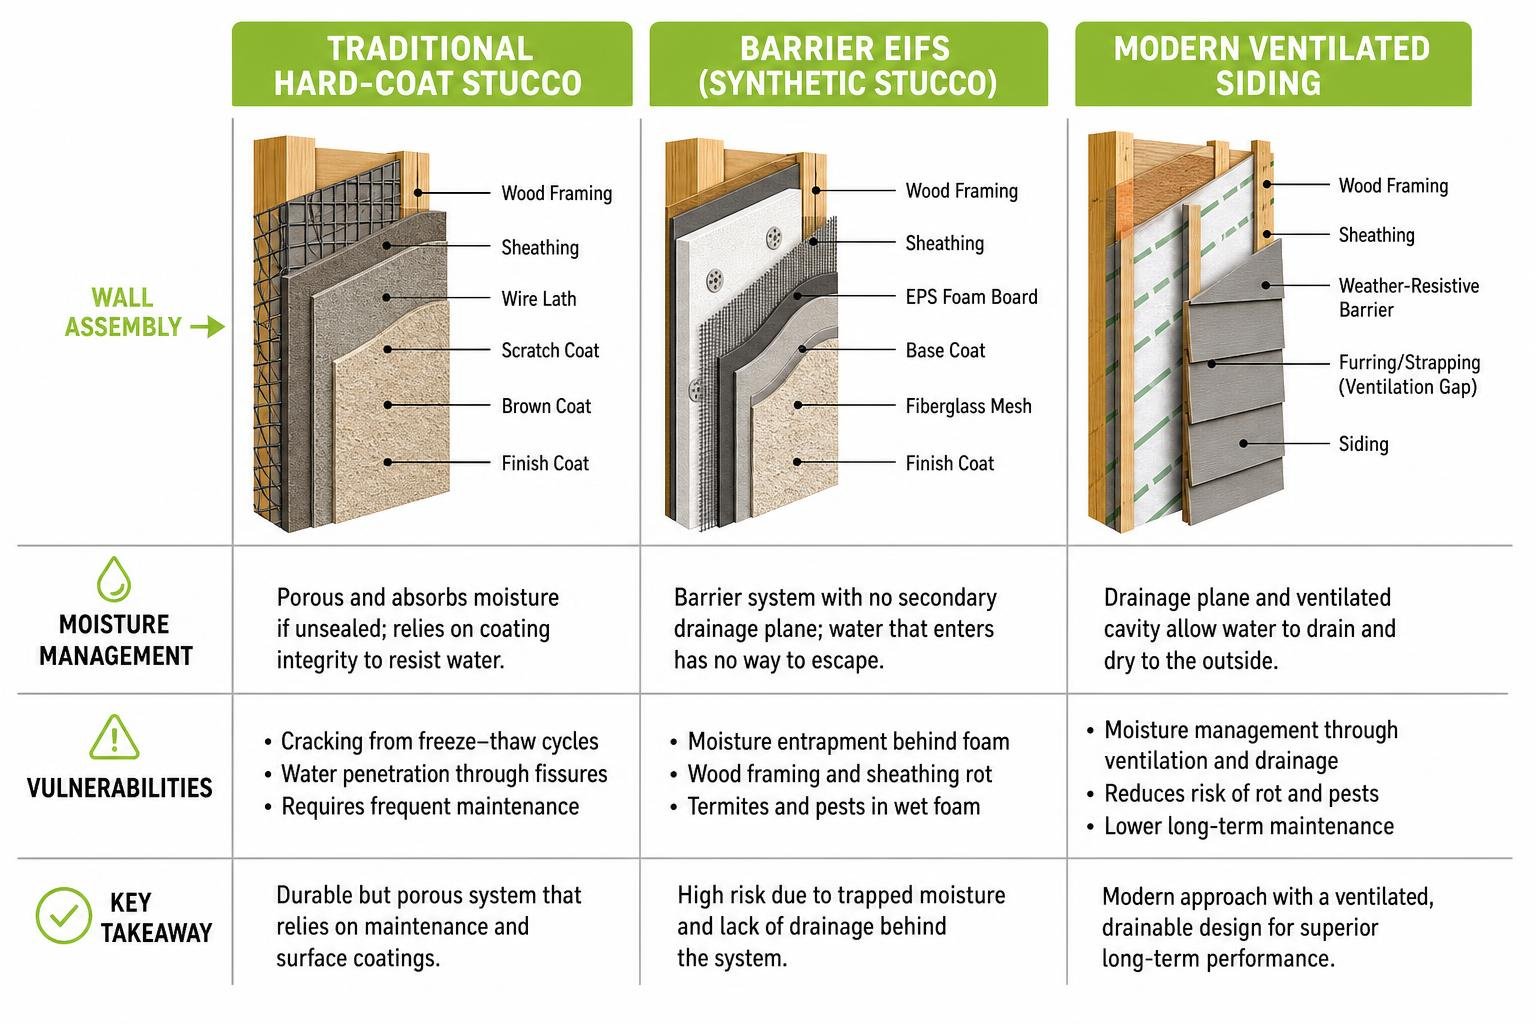
To understand why an exterior fails, you must understand what is installed on your exterior walls. Traditional hard-coat stucco is a thick, heavy mixture of Portland cement, sand, lime, and water applied over a wire lath base across two or three distinct coats. While hard-coat stucco is non-combustible and impact-resistant, its porous nature means it absorbs moisture if unsealed.
Synthetic stucco—officially known as Exterior Insulation and Finish System (EIFS)—became popular during the late 20th century. By the early 1990s, synthetic EIFS was used in almost 30% of homes built across the Southeast and quickly spread into other suburban developments nationwide.
EIFS utilizes an expanded polystyrene (EPS) foam board fastened directly to the exterior wall sheathing, covered by a fiberglass mesh, a synthetic base coat, and a textured acrylic finish coat:
- Moisture Entrapment: Older EIFS installations were barrier systems designed without a secondary drainage plane. When water entered around windows, roof kickout flashing, or joints, it had no path to escape.
- Framing Rot: Trapped moisture remains in direct contact with wooden structural studs and OSB sheathing, quietly rotting the home's structural framing over years without exterior signs.
- Termite and Pest Risks: Wet EPS foam boards create a sheltered environment for subterranean termites and carpenter ants to tunnel undetected directly into wooden wall studs.
Removing vs. Siding Over Existing Stucco
When evaluating how to modernize your exterior, you might wonder whether it is possible to skip the demolition phase and nail siding directly over the existing stucco using furring strips or metal hat channels. While theoretically possible, building science experts and professional siding contractors strongly advise against this shortcut.
There are significant considerations for siding over stucco that make direct installation risky:
- Trapped Moisture and Rot: Covering existing stucco with furring strips and siding permanently encapsulates any existing rot, active mold growth, or saturated framing. You lose the opportunity to inspect and remediate underlying structural damage.
- Wall Thickness and Projection Problems: Adding furring strips (3/4-inch) plus siding planks (1/2-inch to 5/8-inch) pushes the finished exterior wall outward by more than an inch. This buries your existing window casings, door frames, exterior water spigots, electrical boxes, and roof overhangs, creating complex flashing details that often leak.
- Fastener Integrity: Securing heavy siding materials through an inch of brittle, deteriorating stucco into the underlying wooden studs requires specialized extra-long structural screws. If a fastener misses a stud or grips compromised wood, the siding panel can sag or tear off under high wind loads.
Complete stucco removal remains the industry gold standard, ensuring structural integrity, pristine sheathing, and a brand-new weather-resistive barrier.
Step-by-Step Guide to the Conversion Process
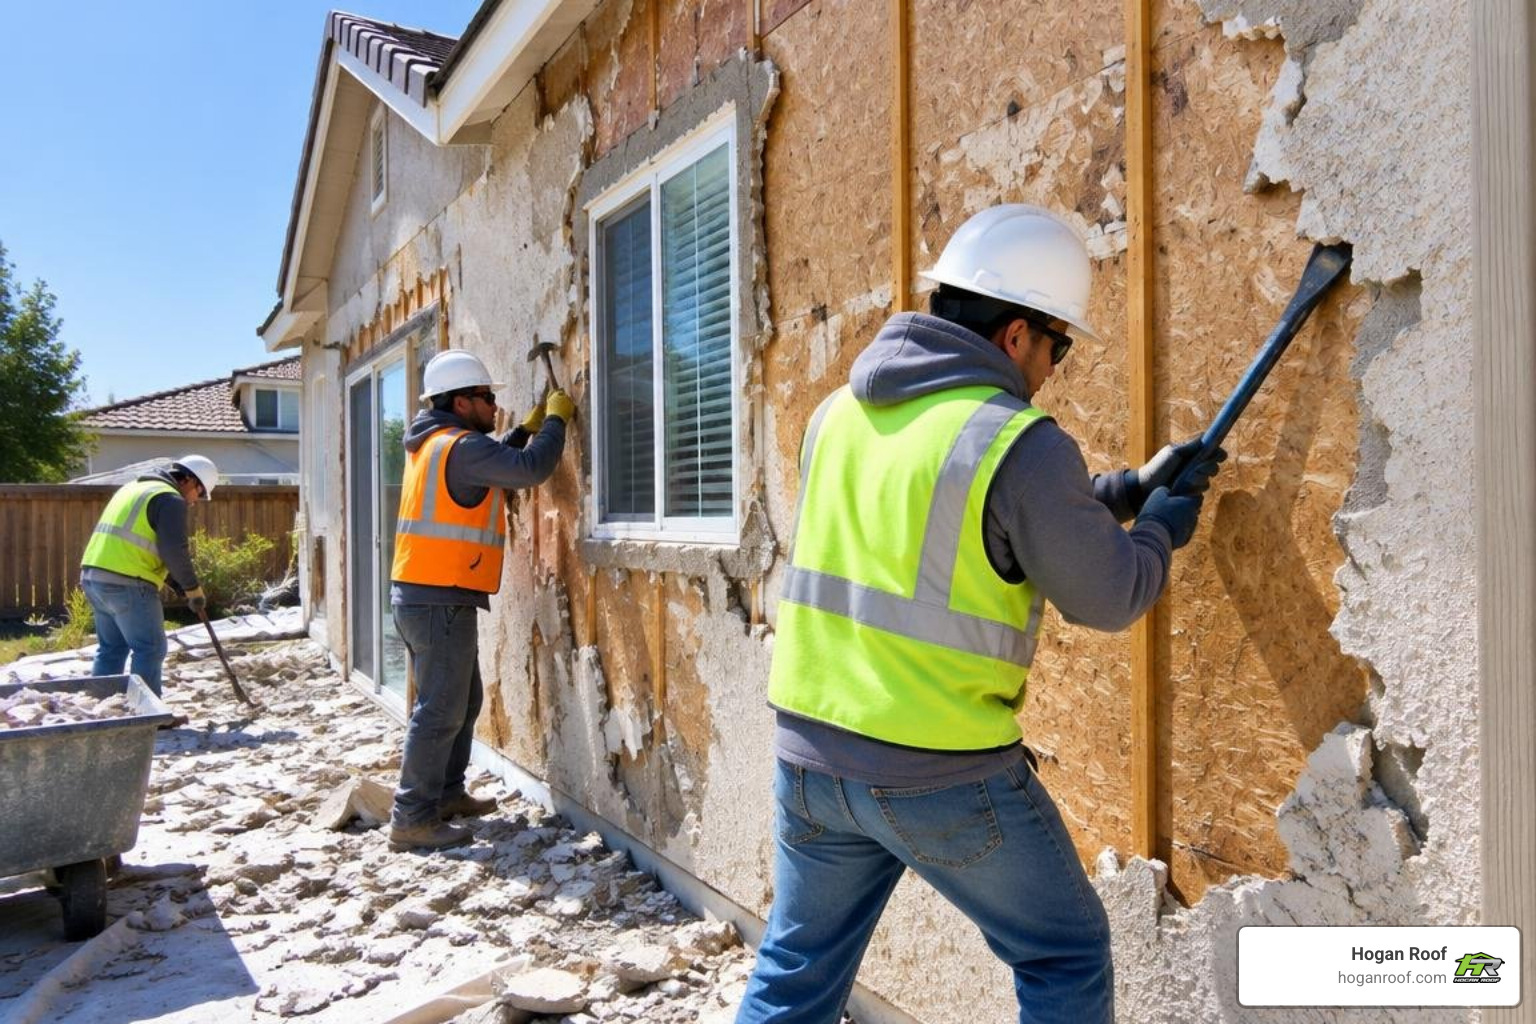
A successful exterior remodel requires a methodical, step-by-step approach to guarantee that your home's structural framing is protected and your new siding performs reliably for decades.
Essential Preparation for Changing Stucco to Siding
Stucco demolition is a labor-intensive, heavy construction process that produces concrete rubble, sharp metal lath shards, and fine silica dust. Professional crews prioritize work site safety and property protection before swinging a single hammer:
- Safety Gear and PPE: Every crew member wears personal protective equipment, including hard hats, impact-resistant safety glasses, heavy-duty puncture-resistant work gloves, steel-toed boots, and NIOSH-rated particulate respirators.
- Dust and Property Containment: Windows, doors, air conditioning compressors, and landscaping are covered with protective tarps and plywood shields. High-durability poly sheeting is hung around the perimeter to contain airborne dust.
- Targeted Demolition: Installers use pneumatic chisels, circular saws fitted with diamond masonry blades, and specialized pry bars to cut the stucco into manageable sections, slicing through the embedded wire mesh to peel panels away without damaging the underlying framing.
- Site Cleanup and Fastener Sweeps: Concrete debris is deposited directly into heavy-duty disposal dumpsters. Magnetic sweepers run across the lawn and driveway multiple times daily to collect loose nails, staples, and wire fragments.
Structural Repair, Housewrap, and Insulation Upgrades
Once the stucco and original tar paper are stripped away down to the bare wooden substrate, the critical remediation and weatherproofing work begins:
- Structural Assessment: We perform a complete, frame-by-frame structural assessment of all exterior walls. If water has penetrated around window headers, sill plates, or roof valleys, compromised framing members and rotted OSB sheathing are cut out and replaced with fresh CDX plywood.
- Flashing Integration: High-performance metal kickout flashing, head flashing above windows, and drip caps are installed to direct water away from wall transitions.
- Weather-Resistive Barrier (WRB): A commercial-grade, vapor-permeable housewrap is installed continuously across the exterior, taped at every seam with manufacturer-approved acrylic flashing tape. This step ensures that water stays out while interior humidity escapes naturally.
- Continuous Rigid Insulation: To boost thermal performance, continuous rigid foam insulation (such as XPS or polyisocyanurate) can be installed over the housewrap, eliminating thermal bridging through wall studs and reducing your seasonal heating and cooling bills.
Siding Installation and Architectural Trim Coordination
With the building envelope fortified, your home is ready for its exterior finish:
- Architectural Layout: Whether you select classic horizontal lap siding, modern vertical board-and-batten, or rustic shakes, the installation team snaps chalk lines to ensure uniform panel exposure across every elevation.
- Trim Coordination: Exterior trim boards around windows, entry doors, garage openings, corners, fascia, and soffits must be properly planned before siding goes up. Using durable composite or cellular PVC trim ensures your accents will never rot, warp, or split.
- Penetration Sealing: All exterior penetrations—including light fixtures, electrical outlets, hose bibs, and HVAC lines—are mounted to dedicated siding blocks and sealed with elastomeric joint sealants to ensure a long-lasting, watertight envelope.
Choosing the Best Siding Materials to Replace Stucco
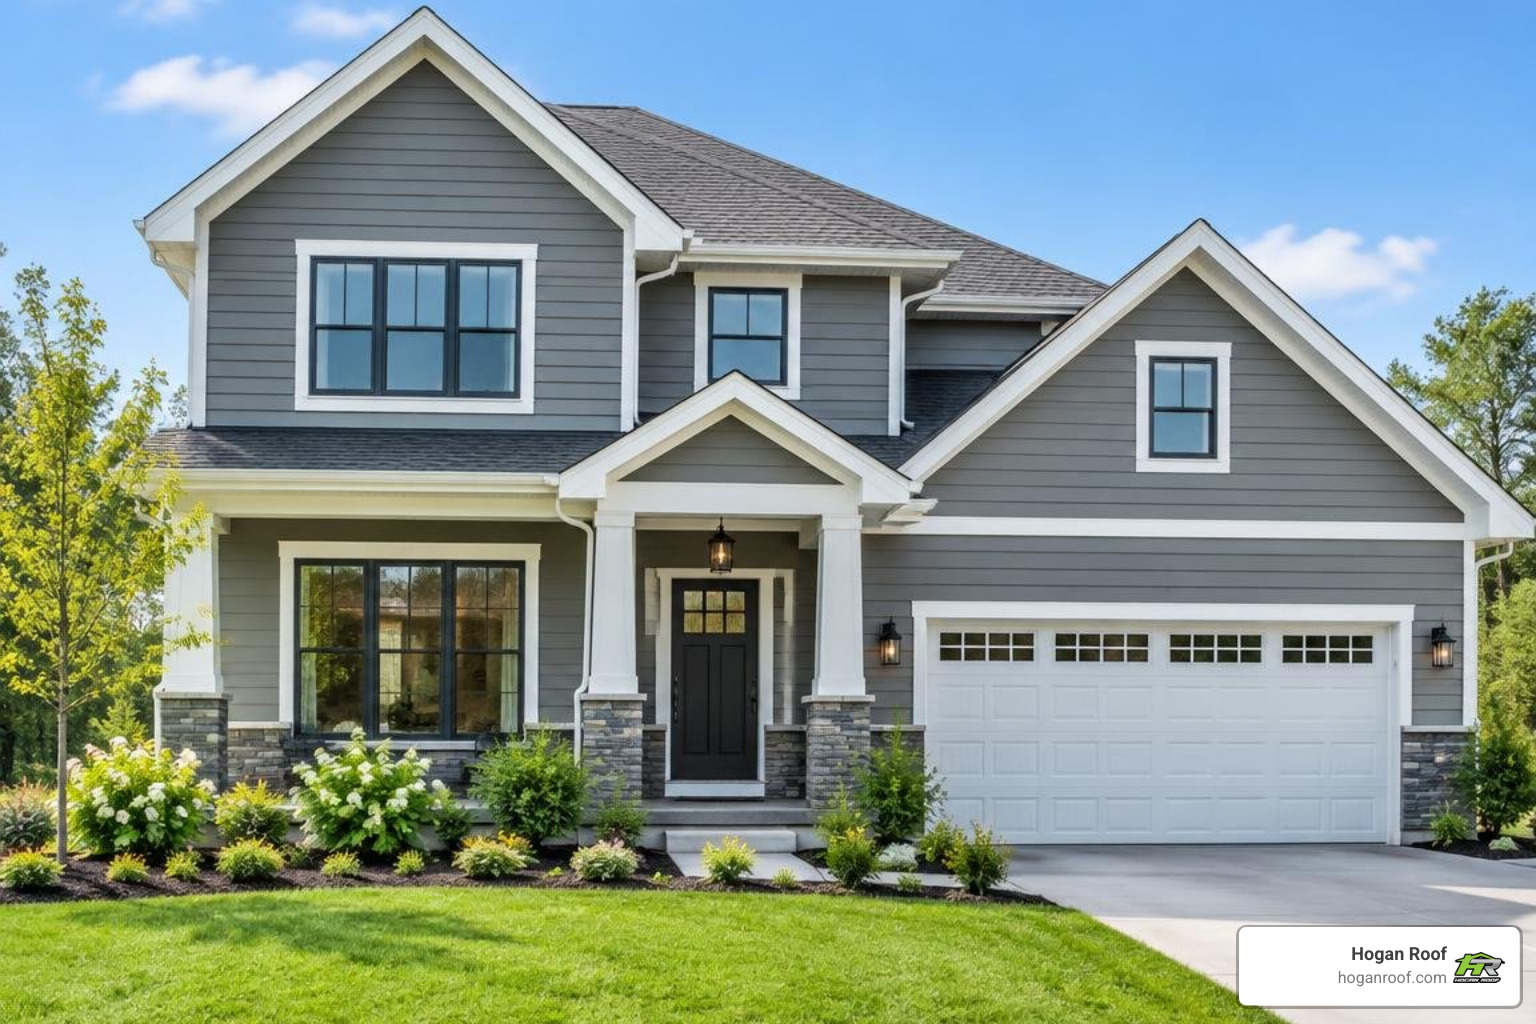
Replacing your exterior gives you the freedom to choose high-performance materials engineered to handle regional climate swings.
Fiber Cement and Engineered Wood Siding Options
Two of the leading materials for replacing stucco are fiber cement and engineered wood siding.
Fiber Cement (e.g., James Hardie):
- Composition: A durable blend of Portland cement, sand, cellulose fibers, and water.
- Performance: Non-combustible (Class A fire rating), impervious to wood-boring insects, and resistant to rot, warping, and moisture damage.
- Aesthetic Flexibility: Available in smooth, wood-grain cedar textures, and specialized stucco-style panels that let you keep the stucco look without the structural cracking risks.
- Longevity: Typically backed by 30-year non-prorated substrate warranties with baked-on, factory-applied ColorPlus finishes guaranteed against fading, chipping, and peeling for 15 years.
Engineered Wood (e.g., LP SmartSide):
- Composition: Premium wood strands treated to the core with an advanced formula of zinc borate, water-resistant waxes, and industrial resins.
- Performance: Exceptionally impact-resistant against hail, baseballs, and stray rocks; significantly lighter than fiber cement, reducing dead load on exterior framing.
- Workability: Cuts like natural lumber without producing silica dust, offering long 16-foot plank lengths that reduce the number of visible butt joints across wide wall spans.
Premium Vinyl and Cedar Siding Solutions
Homeowners looking for value, easy upkeep, or natural elegance have great options in vinyl and cedar:
- Heavy-Gauge Vinyl Siding: Modern premium vinyl siding (0.044 to 0.048 inches thick) provides an economical, ultra-low-maintenance option. For nearby coastal homes, upgrading exterior vinyl siding delivers clean architectural lines and lasting resistance to salty air.
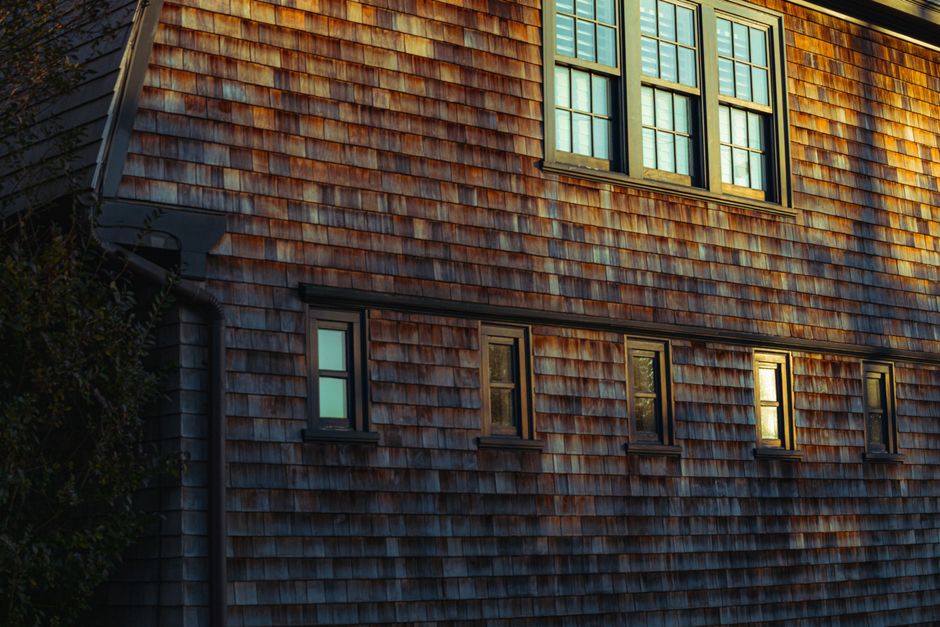
- Western Red Cedar: For organic warmth, durable cedar shingle siding provides natural preservatives that resist insect damage and decay while offering a classic aesthetic.
- Mixed-Material Accents: Pair fiber cement lap siding on the main floor with board-and-batten gables or cedar shingle accents around porch entries for elevated architectural depth.
Budget Breakdown and Project Timeline Considerations
Changing an exterior is a major investment that enhances structural integrity, lowers energy bills, and delivers an average return on investment of 75% to 85% at resale.
| Project Component | Typical Cost Range (Per Unit) | Cost for a Typical 2,500 Sq. Ft. Home |
|---|---|---|
| Complete Stucco Demolition & Disposal | $3 – $6 per sq. ft. | $7,500 – $15,000 |
| Substrate & Sheathing Repair (if needed) | Lump sum per damage extent | $2,000 – $8,000 |
| Weather Barrier & Rigid Insulation | $2 – $4 per sq. ft. | $5,000 – $10,000 |
| New Siding Material & Installation | $8 – $14 per sq. ft. | $20,000 – $35,000 |
| Architectural Trim, Soffit, & Fascia | Lump sum package | $3,000 – $8,000 |
| Total Estimated Project Investment | Turnkey Solution | $30,000 – $60,000+ |
Cost Factors When Changing Stucco to Siding
Several key variables influence the final investment for your conversion project:
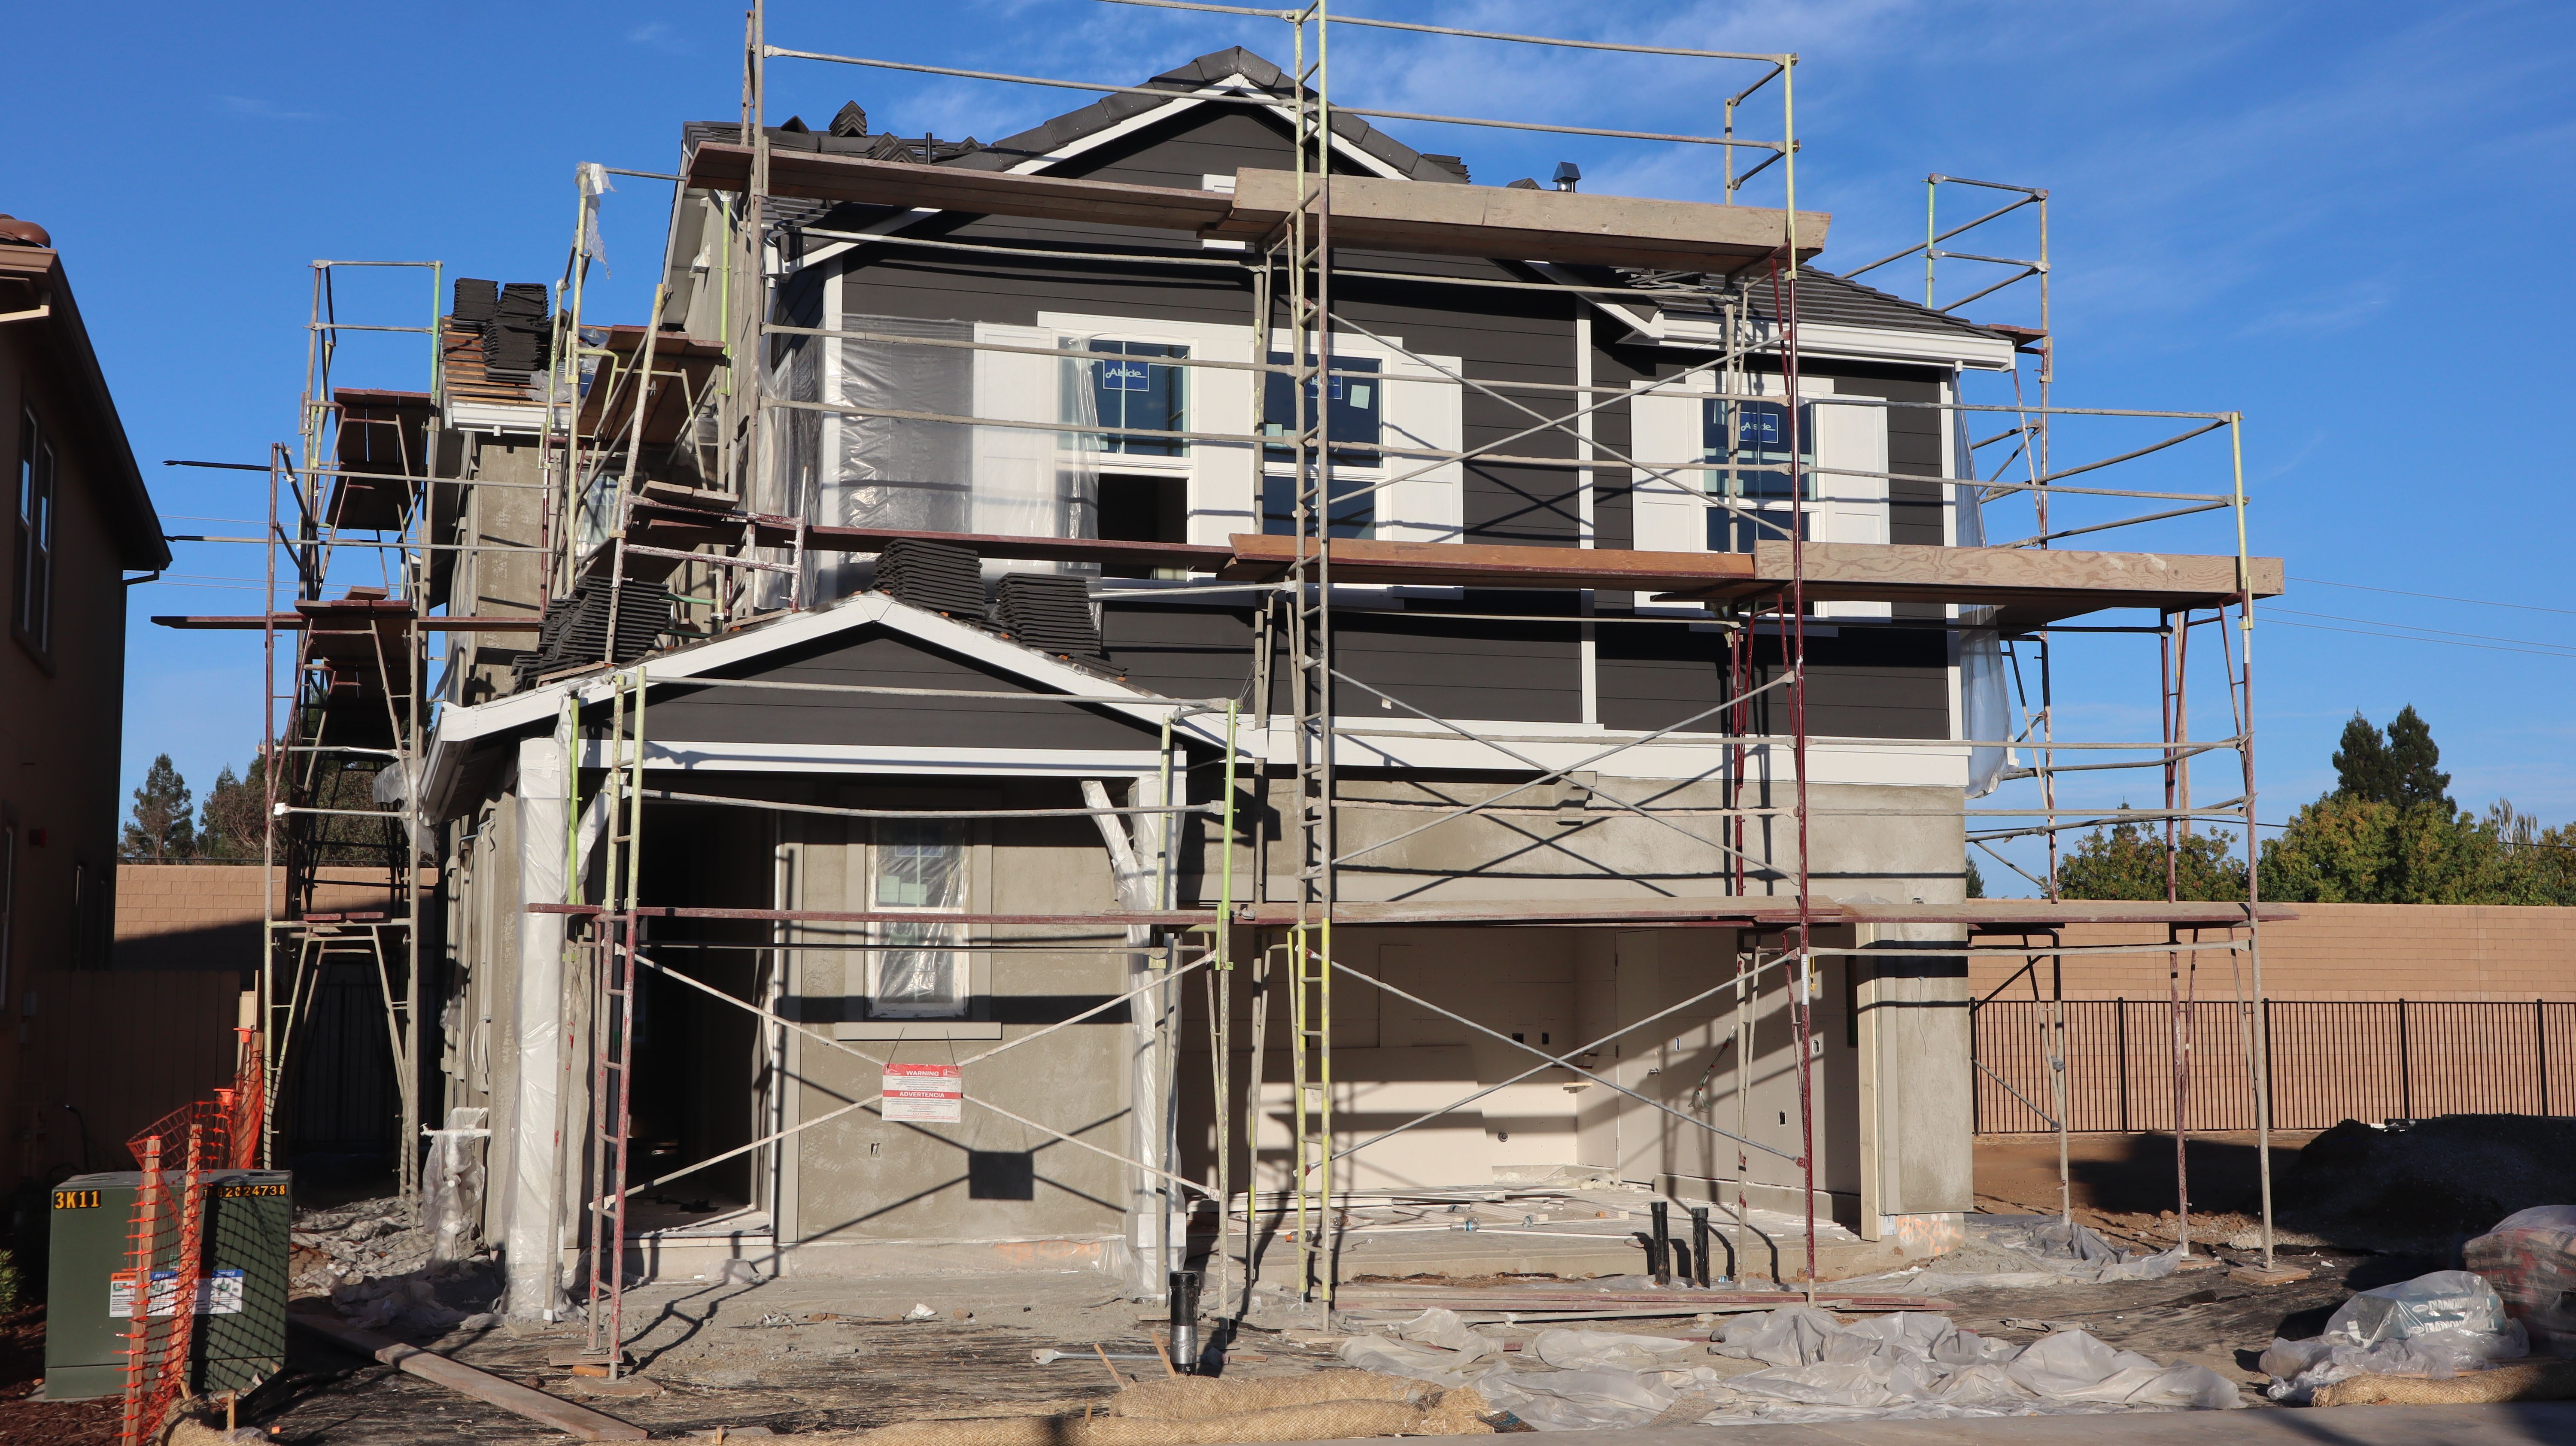
- Surface Area and Home Height: Multi-story homes require complex pipe scaffolding, safety rigging, and extended labor hours compared to single-story ranches.
- Extent of Underlying Damage: If your home's substrate has suffered unaddressed moisture leaks, sheathing repair costs can add $2,000 to $8,000 for replacement plywood and structural framing sistering. Review our breakdown on understanding siding replacement costs to see how structural repairs impact budgets.
- Architectural Complexity: Dormers, turrets, bay windows, and steep rooflines require custom flashing, precision cuts, and additional trim work.
- Material Selection: Standard vinyl siding sits at the lower end of the pricing spectrum, while engineered wood, fiber cement, and cedar shingles occupy mid-to-premium tiers.
Project Timeline and Weather Delays
A standard full-home stucco-to-siding conversion takes between 2 to 4 weeks from first demolition to final cleanup:
- Permit Acquisition (1–3 Weeks Prior): Local municipal building departments review project plans and issue construction permits before work begins.
- Demolition & Substrate Inspection (Days 1–4): Stucco removal, debris hauling, and initial sheathing inspections take place.
- Carpentry & Sheathing Repairs (Days 5–8): Rotted studs are repaired, new sheathing is fastened, and window flashing is integrated.
- Weatherization & Insulation (Days 8–11): High-performance housewrap, rigid foam insulation, and seam tape are installed.
- Siding & Trim Installation (Days 12–18): Siding planks, corner posts, soffits, fascia boards, and architectural trims are fitted and sealed.
- Final Inspection & Detail Work (Days 19–20): Punch-list review, touch-up painting, lighting reinstallation, and final cleanup.
Timeline variations occur primarily due to adverse weather. Because siding conversions leave walls temporarily exposed to the elements, our crews monitor weather patterns daily and secure heavy-duty tarps across working sections ahead of any rain.
Frequently Asked Questions About Stucco Replacement
How long does a full stucco-to-siding conversion take?
A turnkey conversion on an average single-family home typically takes 2 to 4 weeks . Factors influencing the schedule include the home's total square footage, the number of stories, the complexity of the roofline, unexpected framing repairs, and local weather patterns during the demolition and wrapping phases.
Will removing exterior stucco damage my home's interior?
When managed by an experienced exterior crew, stucco removal will not cause structural damage to your home's interior living spaces. Because breaking up hard-coat stucco generates vibrations along the wall studs, we recommend taking down delicate wall hangings, mirrors, and unanchored shelving from exterior-facing walls before demolition starts. Minor drywall nail pops can occasionally occur in older homes, but these are rare and simple to repair.
How do I identify hidden moisture damage behind stucco before removal?
Warning signs of hidden moisture damage include:
- Heavy dark staining or efflorescence (white mineral deposits) running down stucco walls.
- Clusters of spiderwebbed hairline cracks around window corners and door heads.
- Areas where the stucco surface feels soft, loose, or visibly bulges outward.
- Persistent damp or musty odors inside exterior-facing rooms.
- Professional contractors use non-destructive electronic moisture meters and infrared thermal imaging cameras to pinpoint trapped moisture pockets behind the walls before starting work.
Conclusion
Transitioning your home from cracking, high-maintenance stucco to modern, precision-engineered siding is one of the most effective ways to protect your structure and elevate your curb appeal. Completely removing the old cladding eliminates trapped moisture, reinforces the building envelope, and gives your home decades of reliable weather protection.
With over 20 years of hands-on experience across the NY/NJ/CT tri-state area, Hogan Roof brings craftsmanship, transparent communication, and structural care to every exterior project. As an Owens Corning Platinum Preferred Contractor, our certified team handles every phase of your renovation with precision—from clean demolition and structural repair to the installation of modern fiber cement, vinyl, and composite siding profiles.
Ready to upgrade your home with lasting weather protection? Contact Hogan Roof today to schedule your free inspection and explore our flexible financing options for professional siding replacement services.