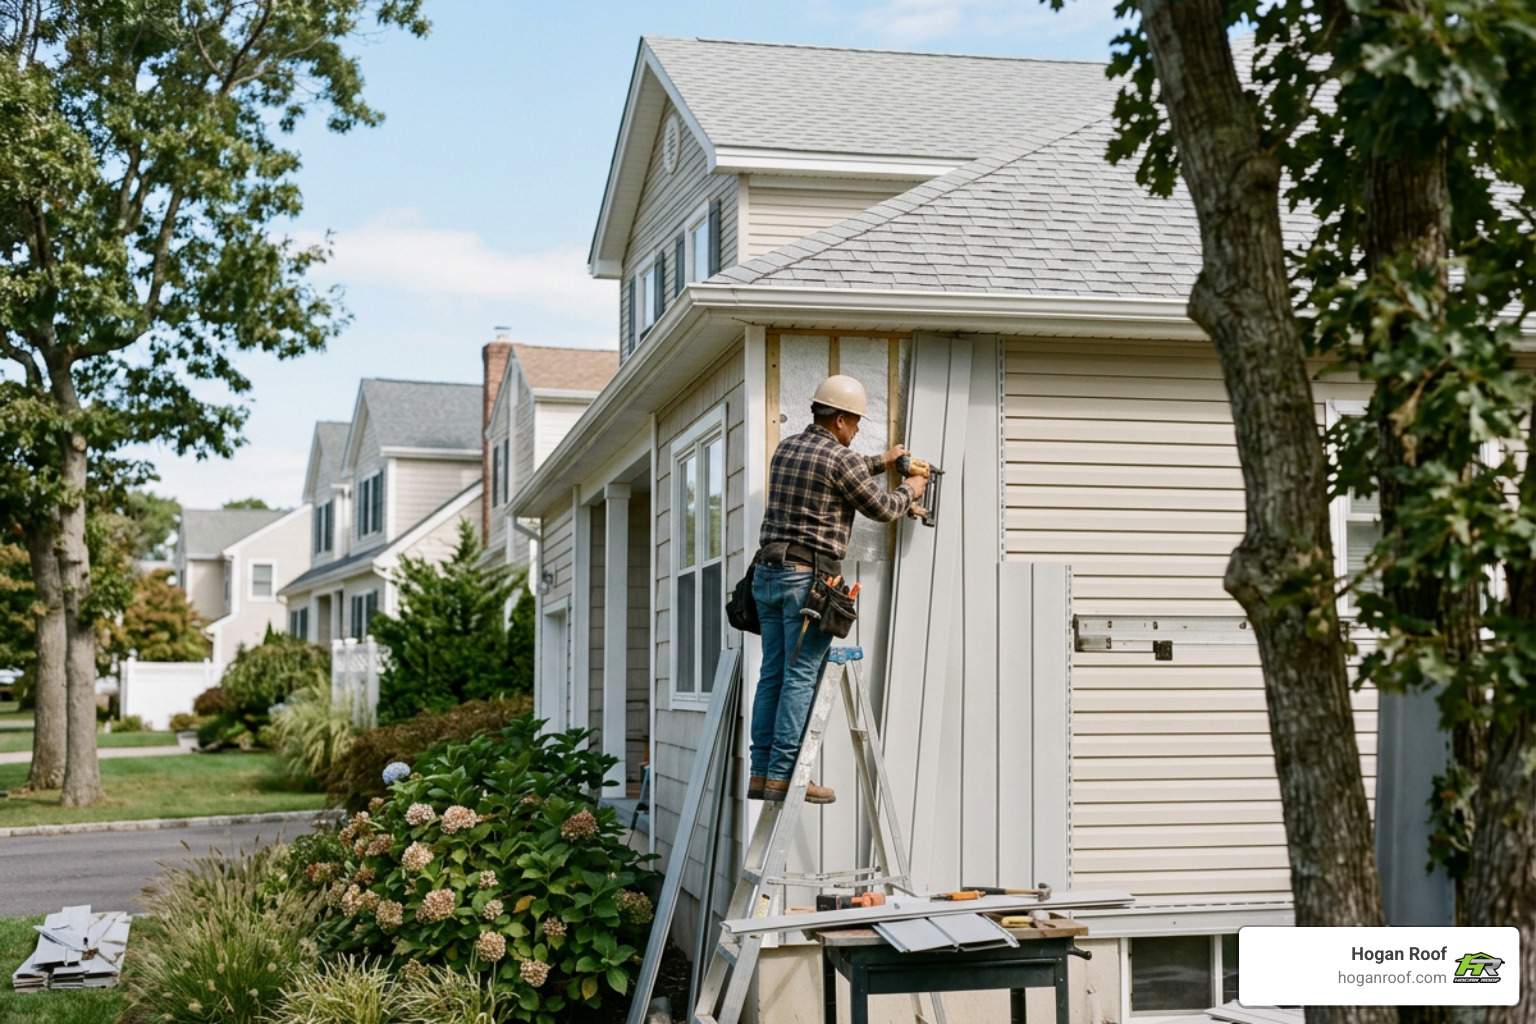
Did They Nail It? How to Inspect Your Roof After Replacement
Protect Your Investment With a Roof Inspection After Replacement
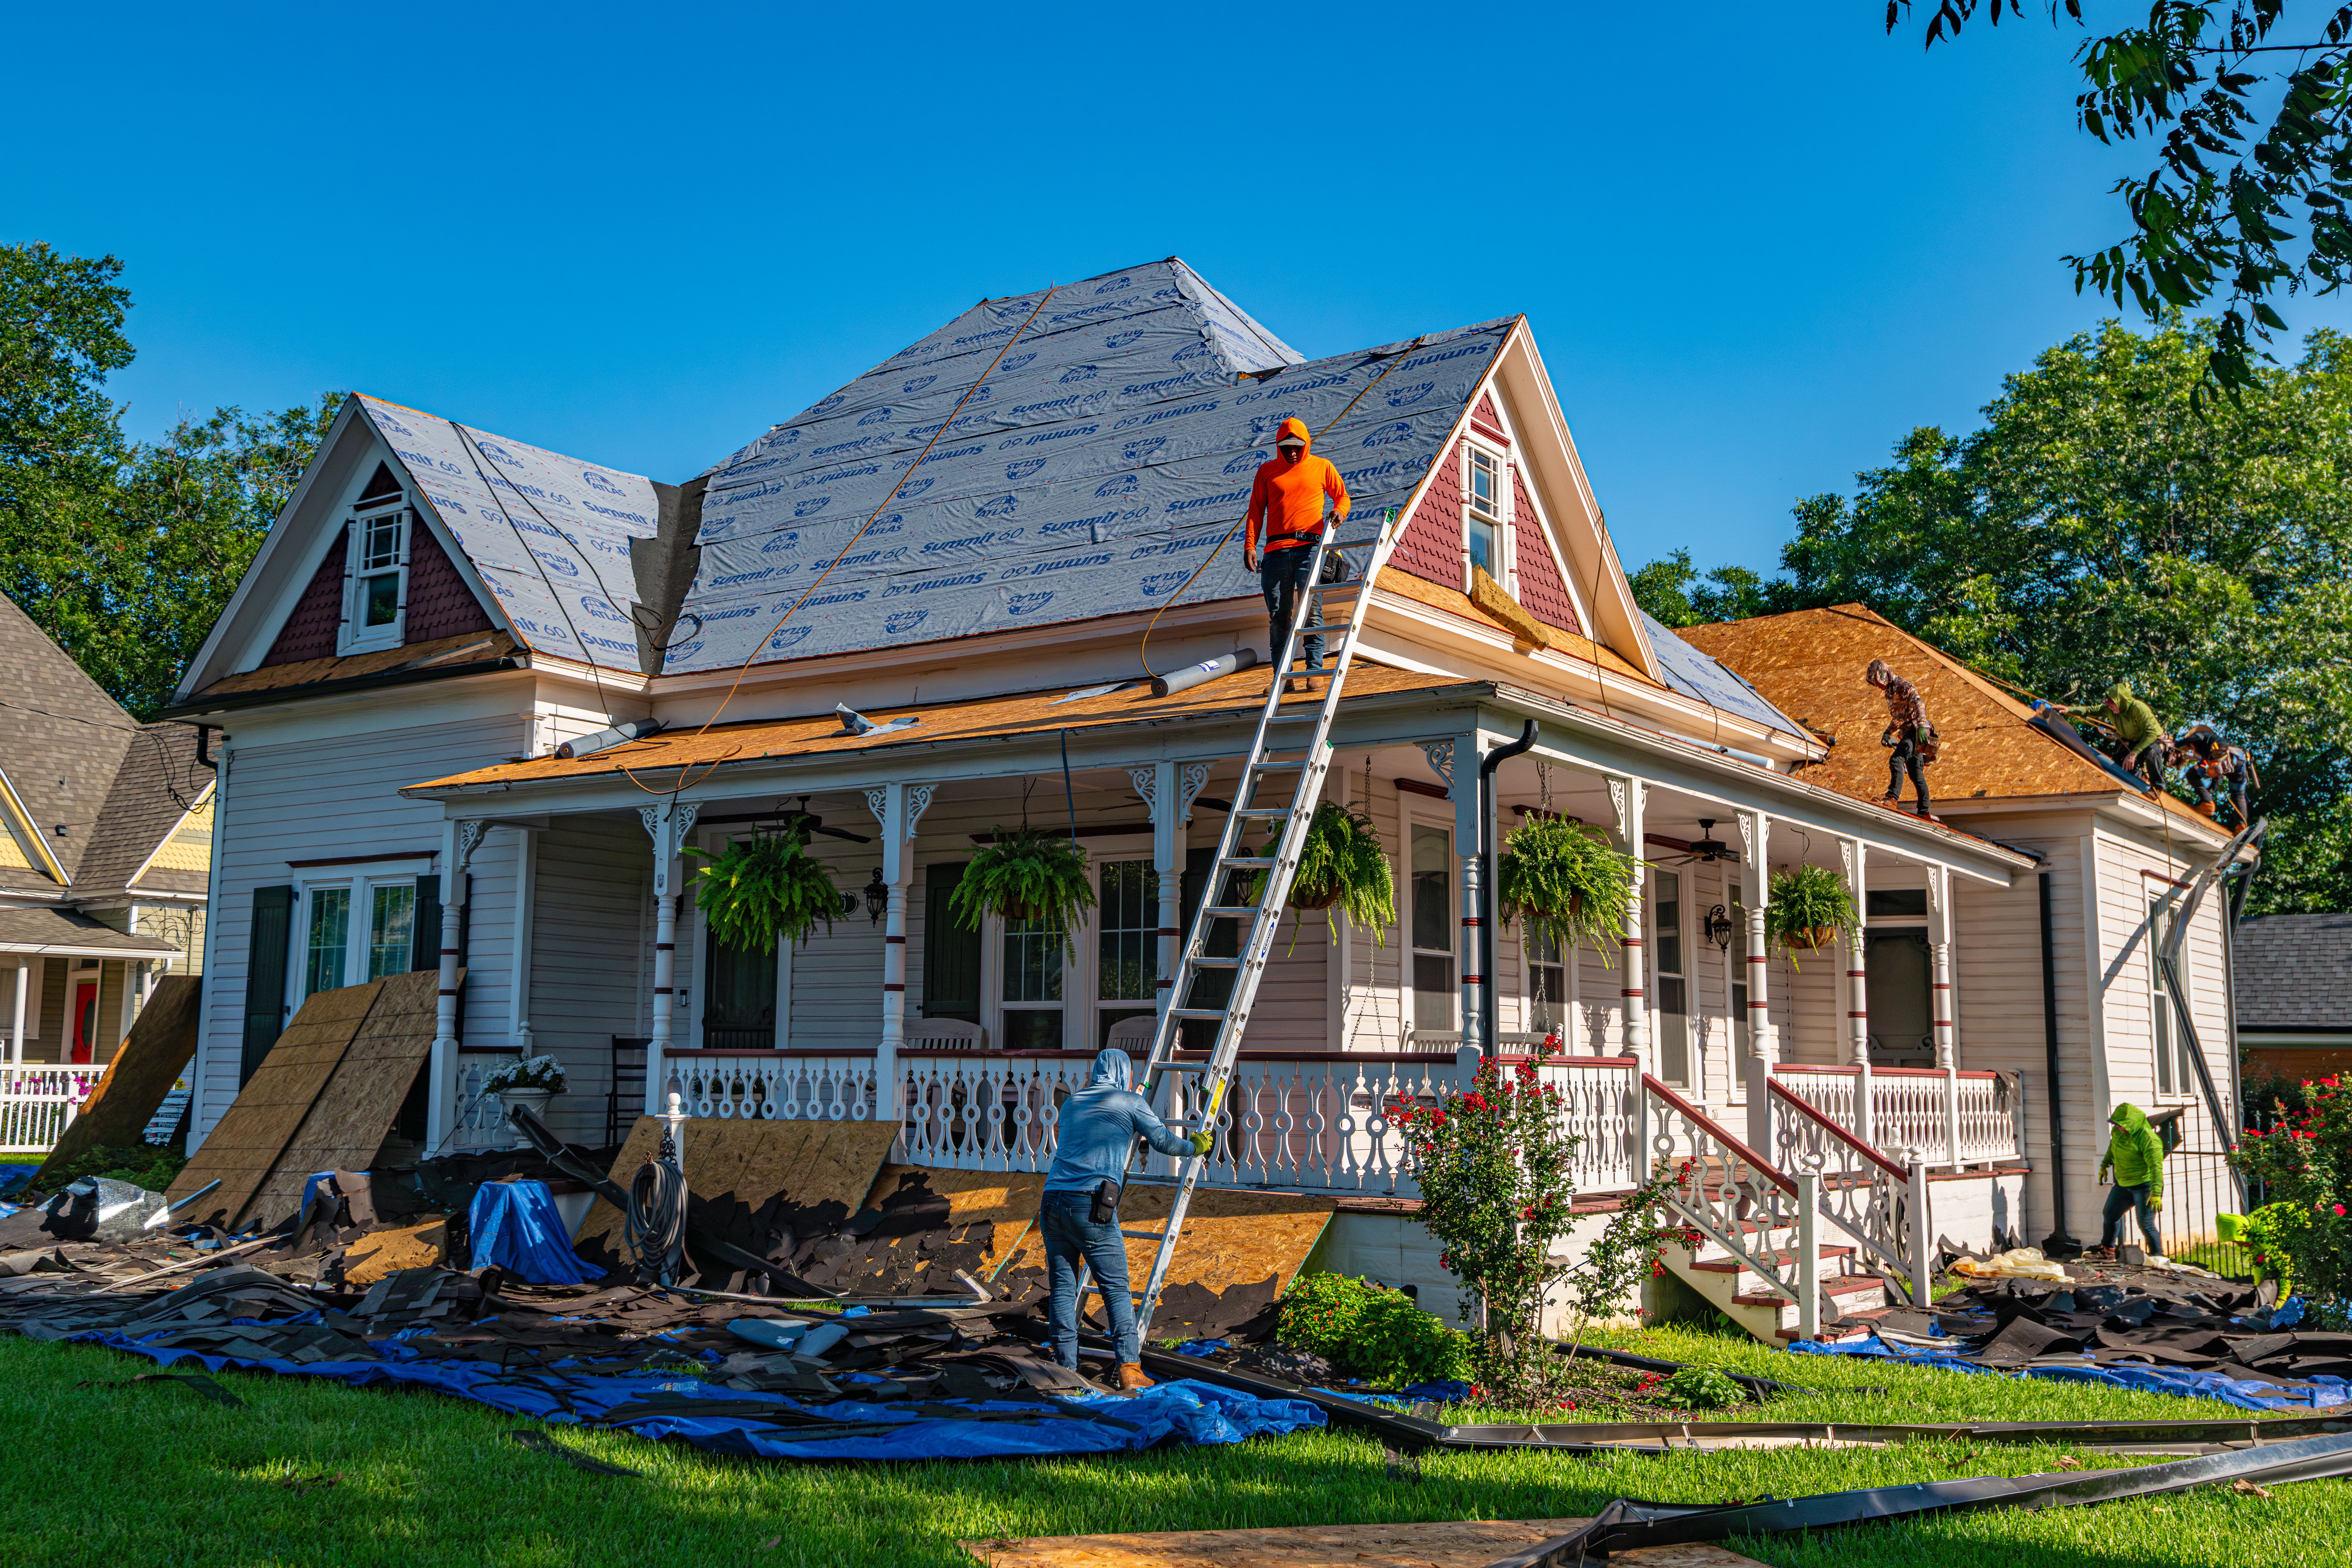
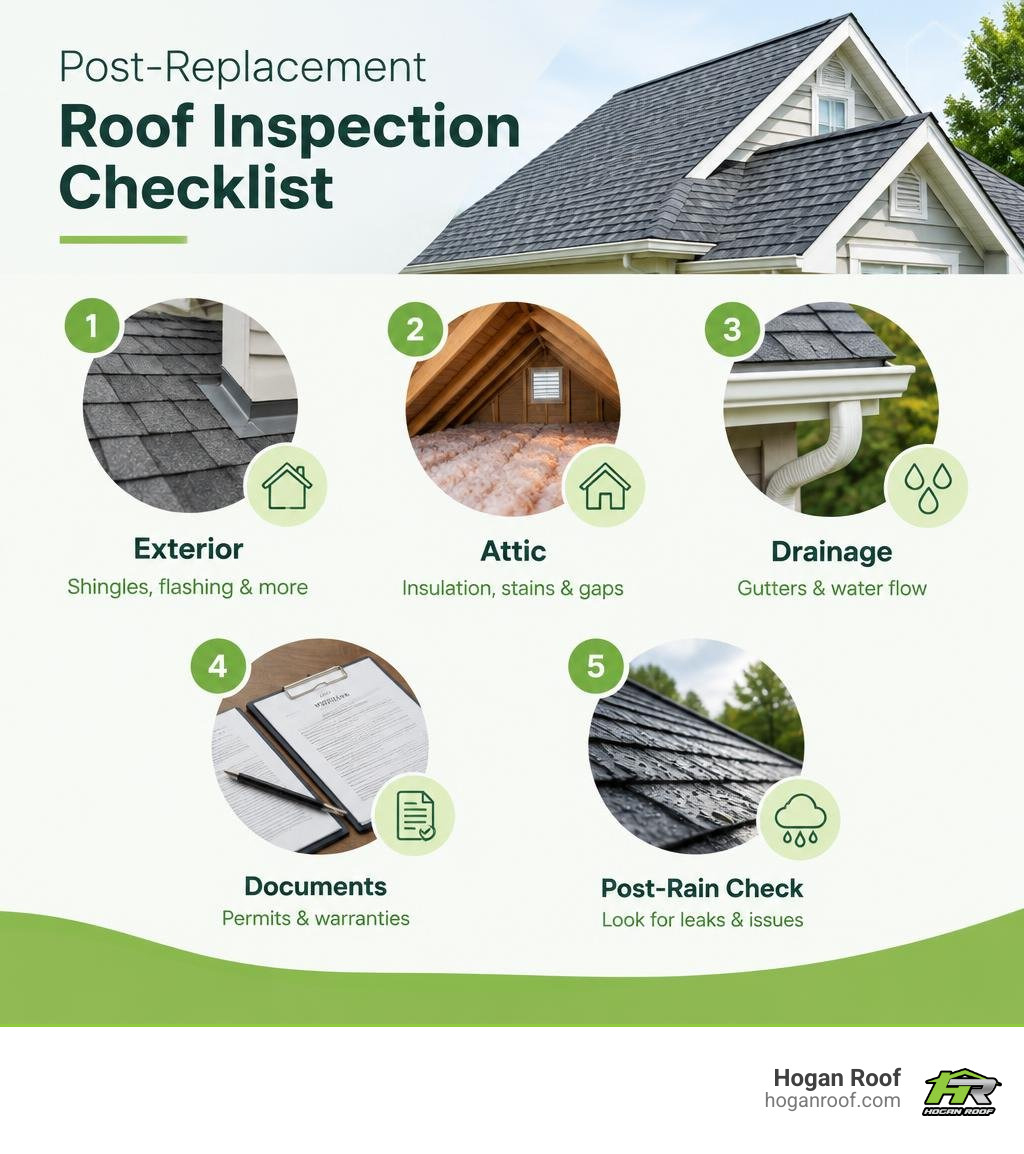
A roof inspection after replacement helps you catch installation errors while they are still easy to fix. Do a safe ground-level and attic check right after the job, schedule a professional follow-up within 2-4 weeks, and inspect again after the first heavy rain or major storm.
Start by checking:
- Shingles and flashing for uneven lines, lifted edges, gaps, or loose pieces.
- Gutters and drainage to make sure water moves away from the home.
- The attic and ceilings for damp insulation, stains, musty smells, or visible gaps.
- Paperwork including permits, final inspection approval, and manufacturer and workmanship warranties.
A new roof should look clean and consistent, but appearances alone do not confirm that every flashing detail, fastener, vent, and drainage point is correct. That matters because professional inspectors find that 29% of roof issues involve improper installation, and even small defects can become leaks when tri-state rain, wind, snow, and freeze-thaw weather arrive.
I’m Bill Hogan, owner of Hogan Roof, with more than 20 years of experience serving residential and commercial property owners across NY, NJ, and CT. I have seen how a timely roof inspection after replacement can protect a homeowner’s warranty, prevent avoidable water damage, and give them confidence in a major investment.
Roof inspection after replacement vocab to learn:
Why You Need a Roof Inspection After Replacement
Investing in a new roof is one of the most substantial financial commitments you will make as a property owner. Understanding your new roof replacement cost breakdown by location and material helps put the scale of this project into perspective. When thousands of dollars are on the line, assuming the installation went off without a hitch is a risk you simply do not want to take.
Even experienced crews occasionally encounter unforeseen site conditions or make honest errors during demanding tear-offs. Industry data shows that 29% of roof issues detected by professional inspectors stem from improper installation . Furthermore, nearly 24.3% of tested residential roofs exhibit flashing vulnerabilities capable of causing severe leaks, and 68% of roof evaluations uncover at least one small defect .
These aren't merely cosmetic hiccups. When high-performance shingles are nailed outside the manufacturer-specified nailing zone, your material warranty can be completely voided. If ice and water shields are omitted or improperly layered along the eaves, winter freeze-thaw cycles across New York, New Jersey, and Connecticut will cause ice dams to force water upward beneath the deck.
A timely post-replacement check ensures code compliance, validates warranty coverage, and prevents small oversights from blossoming into structural rot months down the road.
Step-by-Step Post-Installation Roof Inspection Checklist
You do not need to walk steep pitches or climb high ladders to perform an effective initial evaluation. Homeowners can conduct an initial ground-level review safely using a high-powered pair of binoculars, a camera, and a magnetic sweeper.
Exterior Checklist for a Roof Inspection After Replacement
Begin on the ground by walking the entire perimeter of your home. Stand far enough back to gain clear sightlines over ridges, valleys, and roof planes. Knowing how to spot shoddy work during your post-roofing inspection allows you to verify that critical components meet high installation standards.
Use this exterior checklist during your walkthrough:
- Shingle Alignment and Exposure: Shingle courses should run parallel to the eaves in crisp, uniform lines. Look for crooked rows, wavy patterns, or shingles that overhang the gutters by more than an inch.
- Fasteners and Nailing Patterns: Shingle tabs should lie flat. Fasteners driven too deep puncture the mat, while under-driven (proud) nails can cut through overlapping shingles during seasonal movement.
- Drip Edge Metals: Ensure metal drip edges are installed securely along all eaves and rakes, directing water into gutters rather than down the fascia boards.
- Flashing Seals: Check chimney aprons, step flashing along sidewalls, and kick-out flashing where rooflines meet vertical siding. Gaps or heavy smears of roofing tar used as a shortcut instead of proper metal step flashing are major red flags.
- Penetrations and Pipe Boots: Examine plumbing vent collars, exhaust caps, and skylights. Rubber boots must be supple, uncracked, and fitted tightly over pipes.
- Valleys: Valley flashing or woven shingles must be straight, free of visible nail heads in the water channels, and clear of debris.
- Gutters and Downspouts: Verify that gutters were not dented during the project, are pitched correctly toward downspouts, and are cleared of leftover shingle granules.
- Site Cleanliness: Ensure the crew ran a magnetic sweeper across your lawn, driveway, and flowerbeds to collect stray roofing nails that could puncture vehicle tires or pose safety hazards.
Interior Attic Checks During a Roof Inspection After Replacement
The exterior is only half the story. Your attic functions as a diagnostic window into the health of your roof decking and ventilation systems.
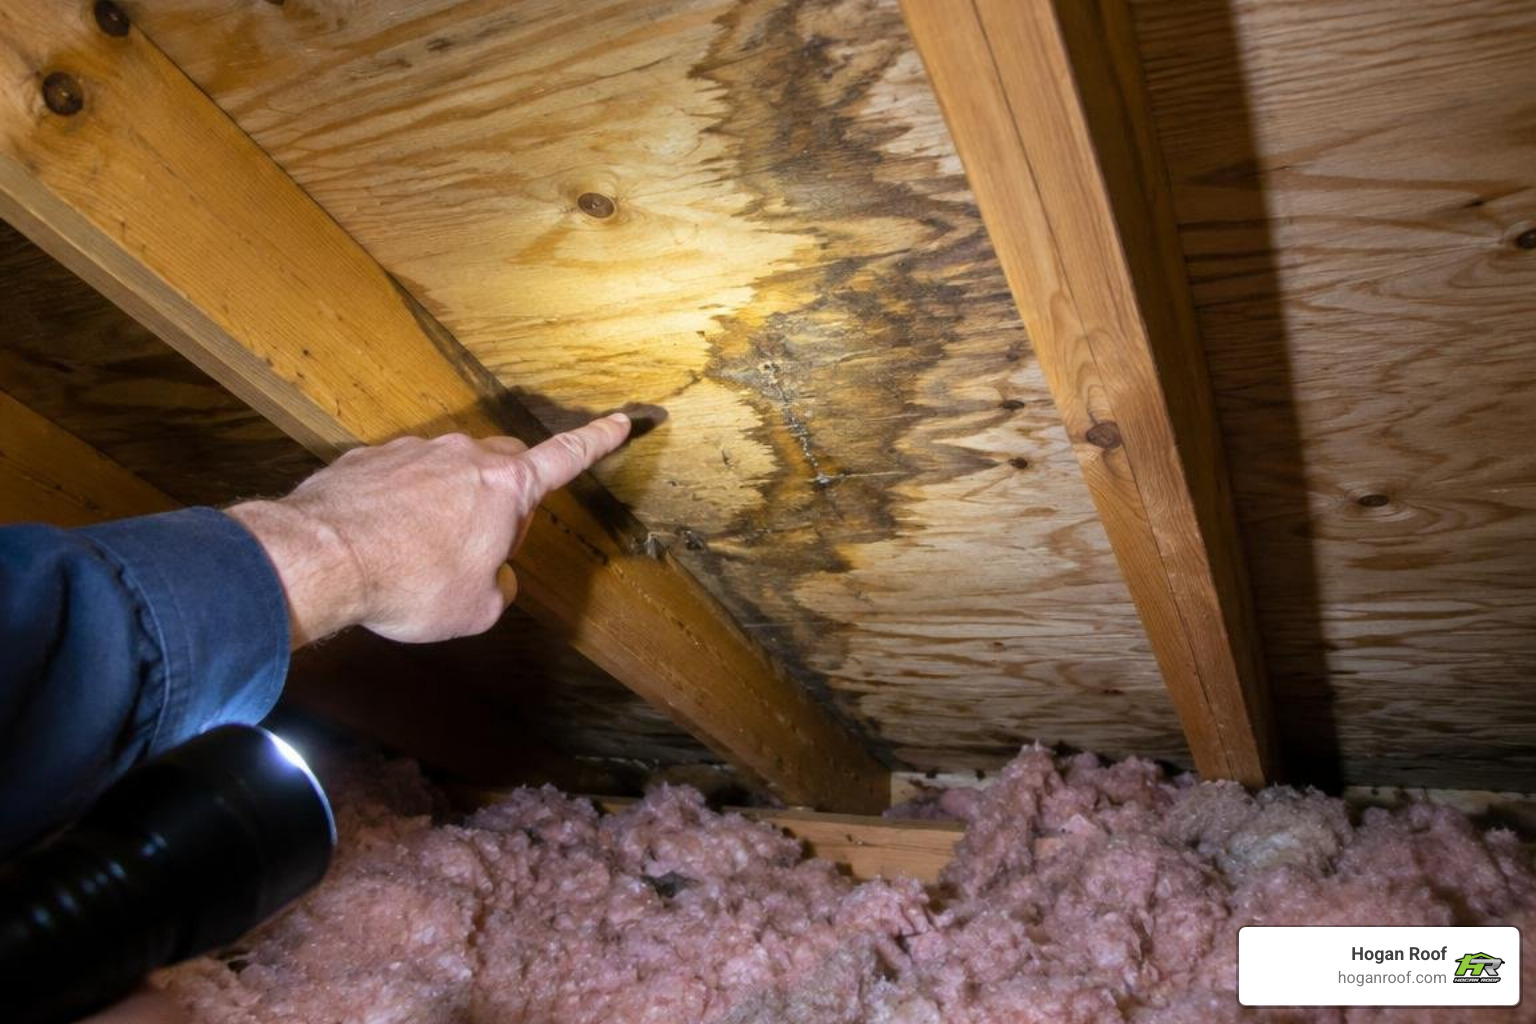
Equip yourself with a strong flashlight and inspect the attic during daylight hours:
- Inspect Roof Decking: Look up at the underside of the plywood or OSB decking. Ensure there are no broken boards, sagging sections, or exposed nail shanks driven through seams between plywood sheets.
- Check for Light Leaks: Look along roof ridges and valley intersections. You should see filtered daylight at designed ridge vents, but bright pinpoint light coming through main roof planes indicates misplaced penetrations or gaps.
- Moisture and Water Stains: Run your hand along the rafters, trusses, and insulation. Check for dampness, dark water streaks, or mildew smells, especially right after the first rainstorm following installation.
- Ventilation Clearances: Make sure soffit intake vents are not obstructed by loose fiberglass or blown-in insulation. Proper airflow from soffit to ridge prevents heat accumulation that bakes shingles from below.
Professional vs. DIY Roof Inspection Methods
While visual checks from the ground and attic offer peace of mind, professional assessments utilize specialized tools to detect flaws hidden beneath the surface. Our residential roofing specialists frequently uncover installation errors invisible to the naked eye.

Understanding the differences between inspection methods helps you choose the right approach for your property:
| Inspection Method | Safety Level | Detail & Diagnostic Depth | Best For | Typical Equipment |
|---|---|---|---|---|
| Ground/Attic DIY | High (No climbing) | Basic (Visual alignment, surface debris, obvious leaks) | Day 1 verification, immediate site cleanup checks | Binoculars, high-lumen flashlight |
| Physical Pro Climb | Moderate (Pro safety gear) | High (Fastener depth checks, seal adhesion, flashing lift test) | Verifying technical code compliance, checking complex flashing | Harnesses, roof ropes, gauge tools |
| High-Res Drone Scan | High (Remote operation) | High (Ultra HD 4K imagery of steep pitches and high ridges) | Multi-story homes, steep or fragile architectural tiles | 4K camera drones, aerial mapping software |
| Infrared Thermal | High | Deepest (Identifies hidden moisture pockets, thermal bypasses) | Finding latent water leaks behind siding or underlayment | Flir thermal imaging cameras |
When to Schedule and What Documents to Secure
Timing your inspection correctly gives you maximum leverage if corrections are needed.
The Recommended Inspection Timeline
- Day of Completion: Perform your initial ground walk and attic check with the project manager. Confirm all debris and nails have been swept.
- 2 to 4 Weeks Post-Installation: Schedule a formal professional inspection. This timeframe gives shingles time to relax while keeping the project fresh enough for immediate contractor remediation.
- After the First Heavy Rainstorm: Step back into the attic and check interior ceilings for any signs of water intrusion or dampness.
Essential Documentation to Secure Before Final Payment
Never release the final installment payment until you have secured these essential documents:
- Building Permit and Municipal Inspection Sign-Off: Verification from your local municipal building department that all local building codes were met.
- Manufacturer Material Warranty: Official registration documents providing standard product or extended non-prorated system warranties.
- Contractor Workmanship Guarantee: A written agreement detailing the contractor's direct liability period for labor and installation defects.
- Lien Waivers: Written waivers confirming all material suppliers and subcontractors have been paid in full, protecting you from unexpected property liens.
Frequently Asked Questions About Post-Replacement Roof Inspections
How long does it take for a new roof to settle?
Most asphalt shingle roofs settle within several days to a few weeks. Modern shingles feature heat-activated sealant strips along their undersides. When direct sunlight warms the roof to around 60°F–70°F, this tar strip softens and bonds each shingle course to the one below it. In cooler weather, this sealing process may take slightly longer.
What should I do if I find an issue after installation?
If you spot an issue, take clear photos from safe angles and contact your contractor right away. Reputable roofing contractors offer workmanship warranties covering post-installation adjustments. Document the date, describe the issue in writing, and request an on-site walkthrough to review the corrective action needed.
Can I inspect my new roof myself or should I hire a professional?
Ground-level visual checks with binoculars and interior attic evaluations are safe and helpful for every homeowner. However, climbing onto the roof surface poses major slip-and-fall hazards and can scuff or damage newly laid shingles. Hiring a certified professional equipped with fall protection, thermal sensors, or high-definition drones ensures a thorough assessment without personal safety risks.
Conclusion: Ensuring Long-Term Roof Performance
A roof replacement is a major home investment that should protect your family and property for decades to come. Taking the time to perform a systematic roof inspection after replacement ensures you get the full quality, safety, and durability you paid for.
At Hogan Roof, we treat every project with meticulous care. As an Owens Corning Platinum Preferred Contractor serving New York, New Jersey, and Connecticut for over two decades, our work is backed by industry-leading craftsmanship warranties. If you have questions about your roof's condition or want a professional assessment, explore our complete services or contact our team today for a free inspection.