Mastering Cedar Shingle Siding Replacement for Your Home
Start Cedar Shingle Siding Replacement Before Moisture Spreads
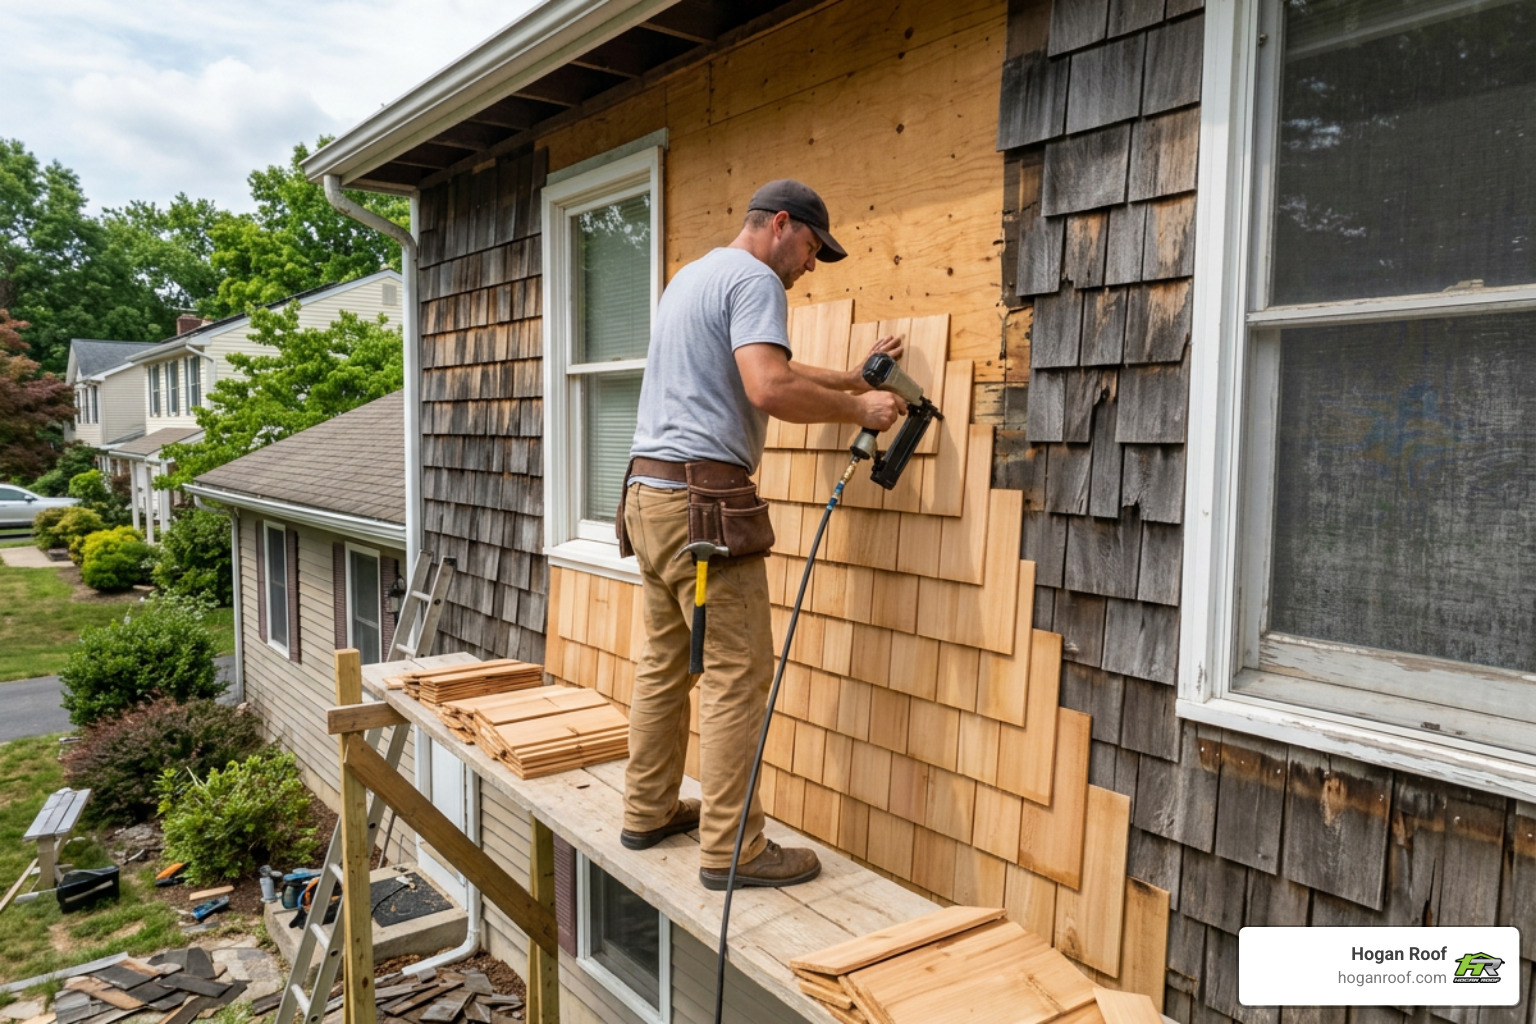
Cedar shingle siding replacement is the right move when shingles are split, curled, loose, missing, or soft from decay - especially when the wall behind them has moisture damage. A small repair can protect your home, but widespread rot, recurring leaks, or damaged sheathing may call for replacing a larger section or the full siding system.
Before work begins, confirm the problem is limited to the shingles and not the wall assembly beneath them. A moisture reading above 19% on cedar is a warning sign that rot may be developing behind the cladding. The replacement process should address the cause of the damage, restore the weather barrier, and install matching cedar shingles with correct spacing, overlap, and corrosion-resistant fasteners.
Cedar is naturally durable, but it still depends on good drainage, ventilation, flashing, and regular care. Done well, replacement protects curb appeal while helping the exterior wall shed water for years to come.
I am Bill Hogan, owner of Hogan Roof, with more than 20 years of experience helping NY, NJ, and CT property owners protect their homes through roofing, siding, and gutter work. In this guide to cedar shingle siding replacement, I will cover how to spot serious damage, plan the work, and avoid the details that can lead to early failure.
Assessing Siding Damage: When You Need Cedar Shingle Siding Replacement
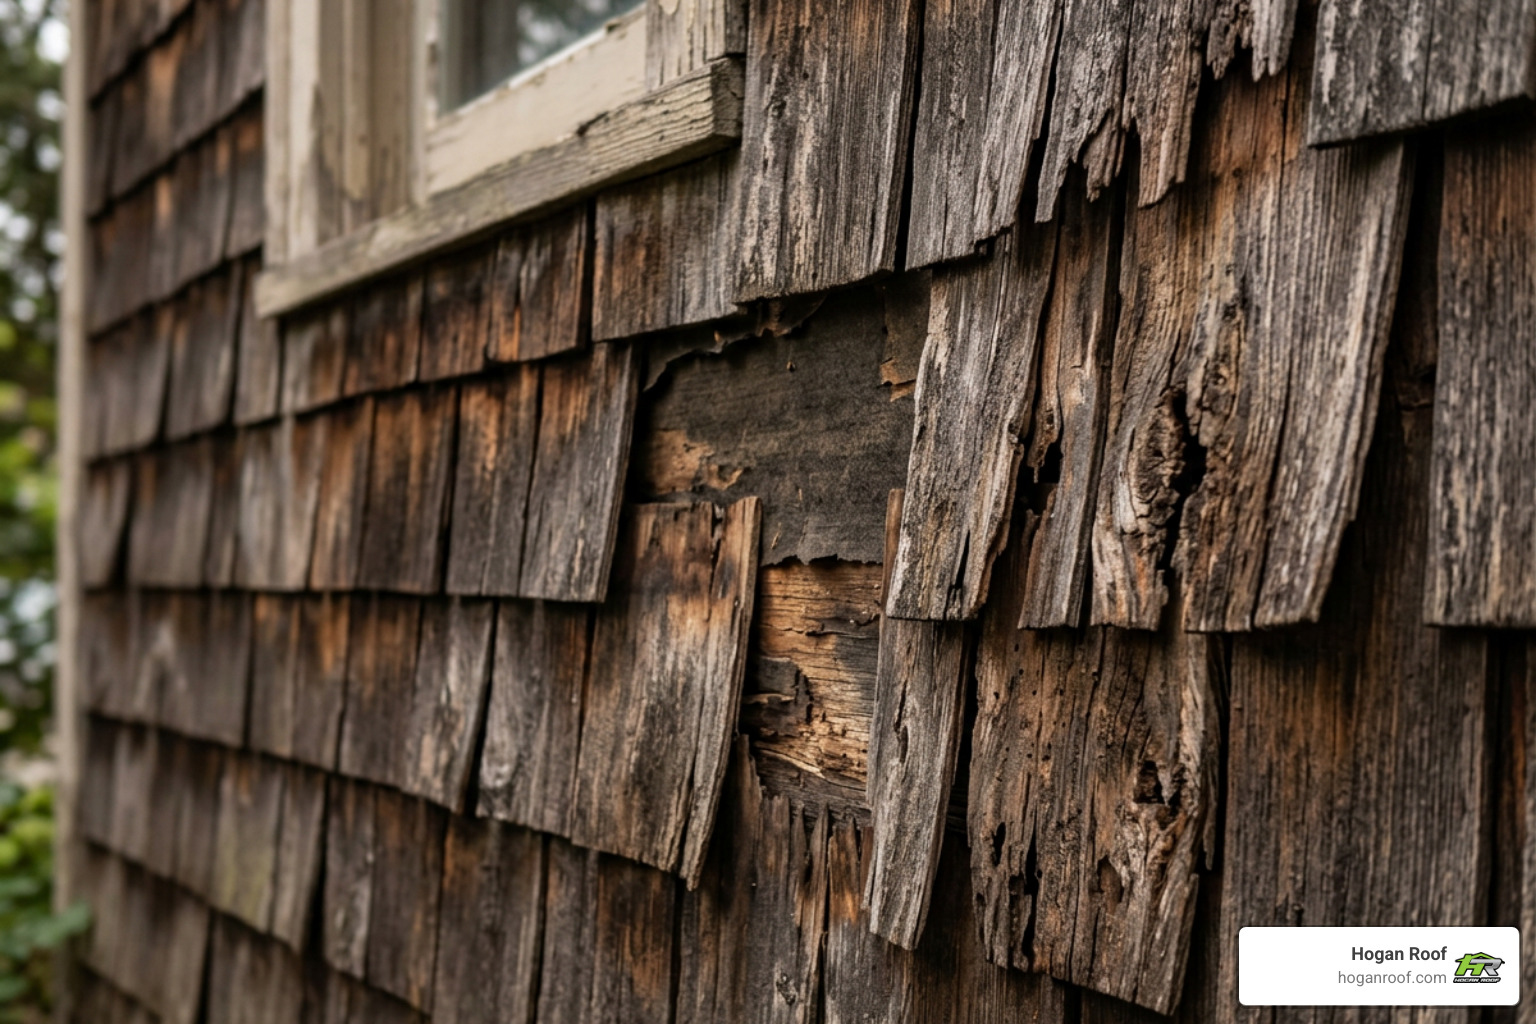
When we evaluate exterior wood walls on homes throughout the tri-state area, we always look beyond surface appearance. Cedar is renowned for its natural oils that resist insects and decay, but no exterior material is completely immune to the elements. Over decades of thermal expansion, sun exposure, and rain, individual courses begin to show their age.
Knowing when localized repairs are sufficient versus when a comprehensive cedar shingle siding replacement is necessary comes down to inspecting the structural envelope. If a defect keeps returning after routine maintenance or cleaning, that recurring symptom is your clearest signal that water has penetrated the protective outer shell. For a deeper look at grading and technical specs, check out this Detailed guide to cedar shingle specifications.
Identifying Key Signs of Severe Cedar Shingle Decay
Before pulling off a single shingle, we recommend conducting a thorough visual and physical inspection. Walk around your home at different times of day—bright sunlight highlights subtle warping, while overcast conditions make water staining and dark rot patches easier to see.
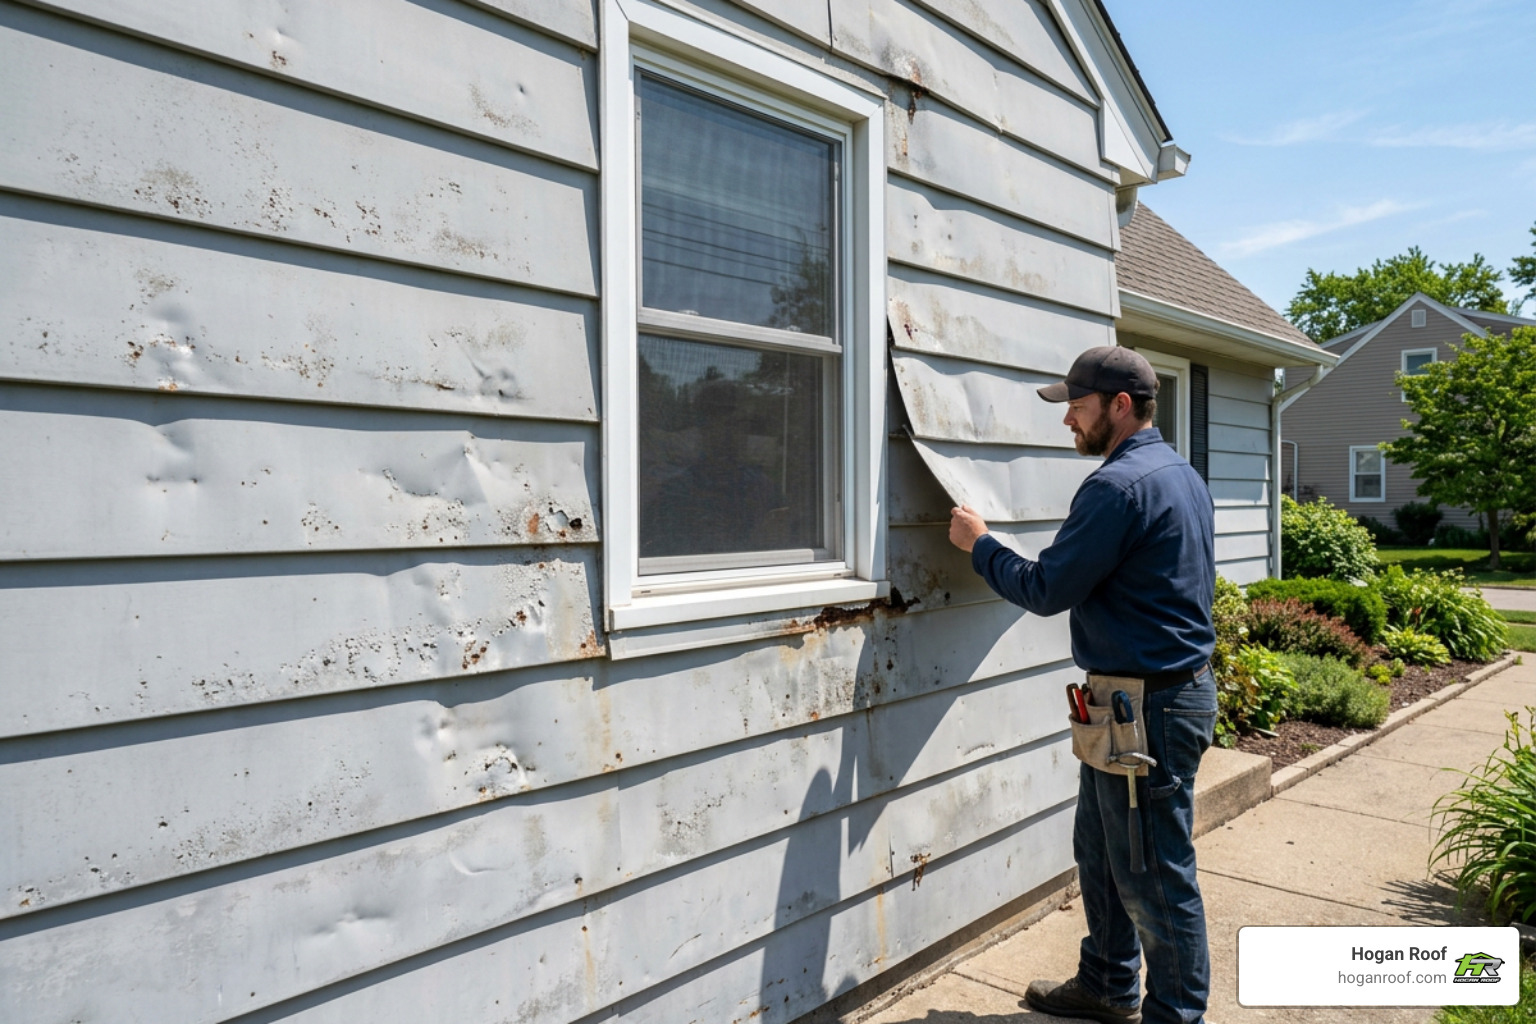
- Split Wood and Edge Curling: As white and red cedar shingles age and dry out, unvented moisture cycling causes wood fibers to cup, curl, or split vertically. Small cosmetic cracks are normal, but deep vertical splits aligned with underlying nail locations allow wind-driven rain direct access to your sheathing.
- Surface Discoloration and Soft Rot: Deep black staining, green algae buildup, or fuzzy mold growths indicate chronic dampness. Take a flathead screwdriver or awl and gently press into suspected soft spots. Spongy, yielding wood means the cell structure has degraded due to rot.
- High Moisture Readings: Surface visual checks only tell half the story. We rely on pin-type moisture meters pressed into the lower courses and shingle valleys. Any reading hovering above the 19% moisture threshold indicates wood dampness high enough to initiate concealed wood rot under sealed cladding assemblies.
- Loose Fasteners and Soft Sheathing: If you spot shingle courses slipping downward or nails popping outward, the nails have likely lost their grip in compromised, rotted sheathing boards behind the wall.
Understanding Cedar Shingle Grades and Material Selection
When purchasing replacement materials, selecting the correct wood grade ensures your new siding matches the performance and lifespan of your existing wall assembly. Western Red Cedar sidewall shingles are typically sold in specific industry classifications:
| Cedar Grade / Style | Wood Composition & Characteristics | Recommended Application & Exposure |
|---|---|---|
| No. 1 Blue Label | 100% Clear Heartwood, 100% Edge Grain, zero knots or defects | Primary exterior walls; maximum durability and weather resistance (8" max exposure single course) |
| No. 2 Red Label | Contains minor sapwood and tight knots; flat grain permitted | Secondary elevations, shed walls, or budget-conscious historic repairs |
| Perfections (18-Inch) | Machine-sawn 18" length; uniform thickness tapering to ~1/2" butt | Ideal for wider weather exposures (up to 14" double course) while keeping triple-course coverage |
| Rebutted & Rejointed (R&R) | Machine-grooved or smooth; butt ends sawn strictly perpendicular to parallel edges | Sidewall applications requiring pristine, tight vertical joints and aligned coursing |
For primary residential elevations, we strongly advise using No. 1 Blue Label R&R shingles. Selecting factory pre-stained shingles is another excellent strategy—pre-finishing coats all six sides of the wood in a controlled environment, preventing uneven moisture absorption after installation.
Essential Preparation and Tools for Cedar Shingle Replacement
Attempting wood siding work without the proper equipment quickly turns a weekend project into a frustrating ordeal. Because cedar shingles overlap tightly across multiple courses, removing a damaged piece without cracking its healthy neighbors requires specialized leverage and cutting tools.
Gather these key tools and supplies before starting:
- Removal Tools: Flat crowbar, pitchfork (a classic contractor secret for lifting damaged courses evenly), and a reciprocating saw with a thin metal-cutting blade to sever hidden nails.
- Cutting & Measuring: Miter saw or utility knife for trimming individual shingles to width, block plane for feathering edges, tape measure, chalk line, and a spirit level.
- Fasteners & Underlayment: 2-inch stainless steel ring-shank nails (or 4-penny hot-dipped galvanized nails), breathable house wrap (50+ perms) or heavy rosin paper, step flashing, and exterior-grade sealant.
- Safety Gear: Sturdy scaffolding setup for high gables, safety glasses, work gloves, and fall protection.
Surface Preparation and Sheathing Substrate Repair
Once you strip back the old shingles, you gain direct access to your home's structural weather barrier. Never slap new wood over decayed wall sheathing. Inspect the revealed plyboard or diagonal board sheathing for soft spots, water tracking, or rusted staple lines.
Finding rot mid-project after substrate materials are purchased typically adds $800–$2,400 in unplanned sheathing replacement costs. If you discover compromised OSB or plywood, cut out the damaged sections back to the center of adjacent studs, install fresh CDX plywood, and tape all seams securely.
Next, install your weather-resistive barrier (WRB). Staple house wrap or heavy rosin paper starting at the bottom of the wall and working upward, overlapping horizontal seams by at least 2 inches and vertical seams by 6 inches. Rosin paper serves as an ideal release layer between sheathing and shingles, allowing both wood layers to expand and contract at different rates without splitting the shingles.
Pay close attention to roof-to-wall intersections: maintain at least a 1- to 2-inch clearance gap between the bottom edge of your siding and sloped roof shingles to prevent moisture from wicking upward into the cedar. Always install a double starter course at the bottom base of the wall to create a thick, water-shedding drip edge.
If you evaluate your home's exterior and realize the existing cedar shingles are structurally sound, dry (under 19% moisture content), and lay flat, you might explore alternative retrofit options. For example, some homeowners review How to Install Vinyl Siding Over Cedar Shingles as a cost-conscious way to update their exterior without a complete tear-off. However, when authentic natural wood character is your goal, full or partial cedar shingle replacement remains the Gold Standard.
Step-by-Step Guide to Executing Cedar Shingle Replacement
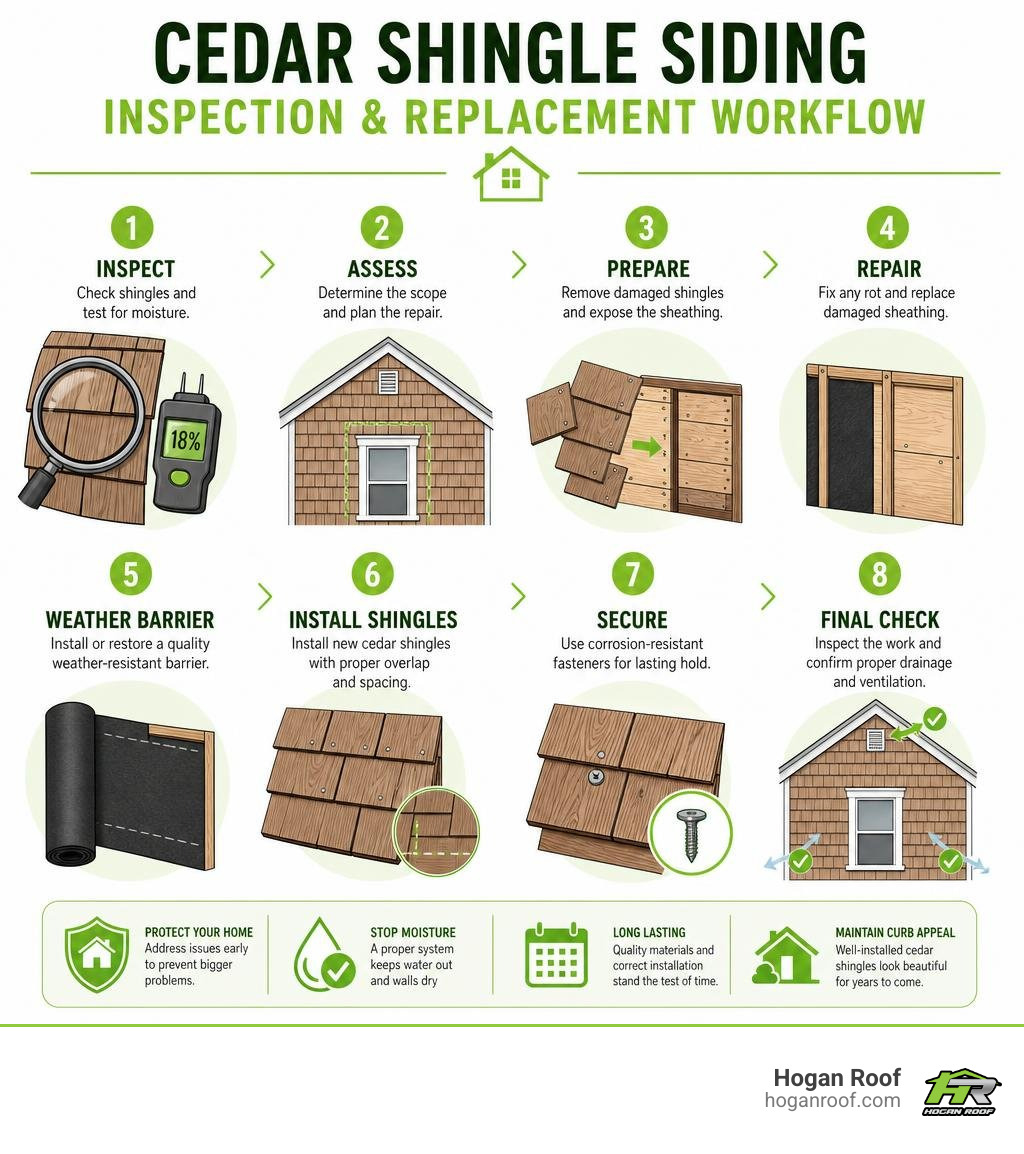
Replacing cedar shingles requires patience, a keen eye for exposure lines, and a disciplined approach to moisture management. Follow this process to execute a weather-tight repair or full wall replacement:

- Isolate and Score: Use a sharp utility knife to score paint or stain seams around the damaged shingles so you don't chip adjacent healthy wood.
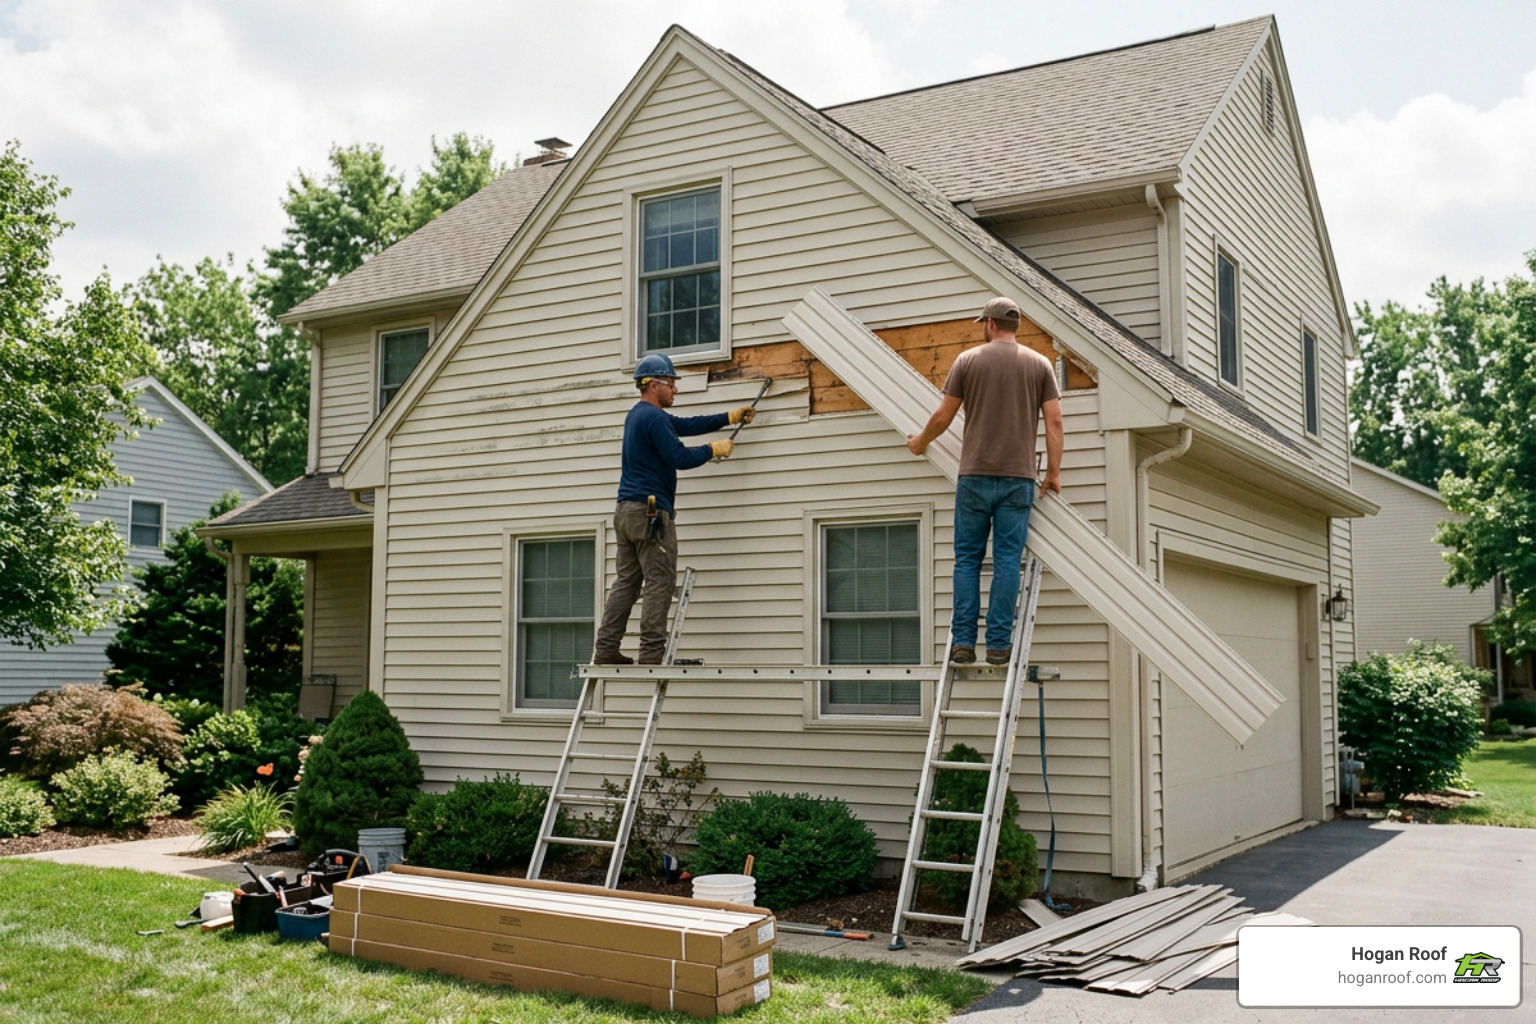
- Remove the Damaged Shingles: Slide a flat crowbar or pitchfork under the butt edge of the damaged shingle. Gently pry outward to loosen it. If the nails refuse to pull free, slide your reciprocating saw blade underneath the overlapping course above and cut the fasteners.
- Inspect and Repair Substrate: Check the exposed underlayment. Patch any torn building paper with flashing tape or fresh house wrap, ensuring upper layers overlap lower layers to shed water downward.
- Measure and Trim Replacement Shingles: Measure the gap width precisely. Cut your replacement shingle to size using a utility knife or block plane, allowing a mandatory 1/8-inch expansion gap on both sides for humid summer wood swelling.
- Slide and Align: Work the new shingle up underneath the course above it until its bottom butt edge aligns perfectly with the horizontal course line.
- Fasten Securely: Drive two 2-inch stainless steel ring-shank nails per shingle. Place nails approximately 3/4 inch to 1 inch inward from each side edge, and 1 inch above the exposure line so the course above completely covers the nail heads.
- Construct Corners: If working near wall ends, alternate overlapping corner shingles from left to right on adjacent courses to create a traditional, weather-resistant woven corner.
Essential Techniques for DIY Cedar Shingle Siding Replacement
The hallmark of a professional siding repair is invisibility—when complete, a observer shouldn't be able to tell where the old wall ends and the repair begins. Achieving this requires proper seam staggering and exposure control.
Never line up vertical joints on consecutive courses. Always stagger vertical shingle joints by at least 1.5 inches across adjacent courses. If you create a straight vertical seam line (known as a "run-through joint"), water will funnel directly down that crack to the sheathing behind it.
Respect the maximum weather exposure limits of your chosen material:
- Single Course Exposure: Standard 18-inch Perfection shingles on a single-course wall should have a maximum exposure of 8 inches to the weather (one carton covers ~57 sq ft).
- Double Course Exposure: If installing a double-course pattern (where a lower-grade shingle is concealed beneath an upper No. 1 shingle), exposure can expand up to 14 inches (one carton covers ~50 sq ft).
Fastener selection is equally critical. Always use stainless steel ring-shank nails. Ring-shank threads grip wood fibers like tiny barbs, preventing the nail heads from popping out over time as the cedar expands and contracts. Stainless steel prevents the ugly black vertical rust streaks that quickly ruin standard steel nails on cedar.
To see how real-world historic restorations handle complex wood installation and material sourcing, read this Real-world case study on historic cedar siding installation.
Blending New Shingles and Avoiding Critical Errors
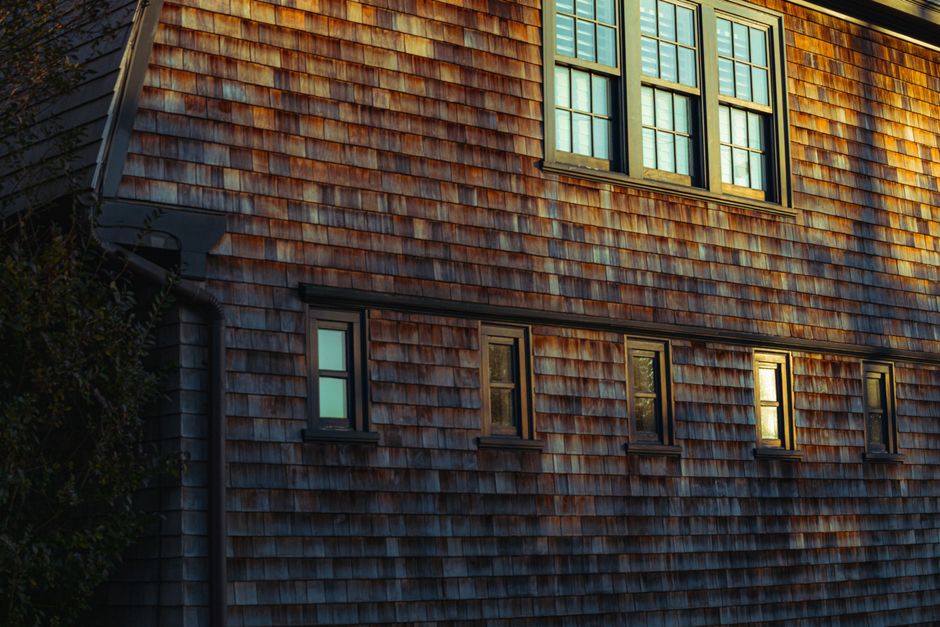
Brand new Western Red Cedar features a warm, reddish-gold hue, whereas existing cedar siding on your home has likely weathered to a soft gray or dark taupe patina. Blending old and new shingles seamlessly is part art and part chemistry.
If your existing siding is stained, apply a high-quality solid color exterior stain to your replacement shingles before installing them. Solid color stain penetrates cedar wood deeply, protecting it against UV degradation without peeling like traditional film-forming exterior latex paint.
If your home features raw, unpainted cedar that has weathered naturally over time, you can accelerate the graying process on new replacement shingles. Spraying a mild solution of ferrous sulphate (iron salts) mixed with water reacts instantly with the natural tannins in the new cedar, turning fresh golden wood into an aged, silver-gray patina within hours.
If you want to leave full siding overhauls, exterior additions, or historic restorations to seasoned specialists, explore our professional Siding solutions. We also provide complete home exterior enhancements through our comprehensive Services, including full structural repairs, custom trim, Residential Roofing, and premium exterior building Products.
Mistakes to Avoid During Cedar Shingle Siding Replacement
Even handy DIYers can fall into subtle traps during wood siding installation. Watch out for these common installation mistakes:
- Over-Nailing and Deep Counter-Sinking: Driving nails too hard splits thin cedar shingles or crushes the wood fibers, creating a small pocket where water collects. Set pneumatic nail guns to leave nail heads flush with the wood surface.
- Omitting the Expansion Gap: Butt-fitting shingles tightly against one another with zero breathing room forces wood to buckle and cup during rainy seasons. Always leave a 1/8-inch gap between individual shingles.
- Sealing Weep and Ventilation Paths: Never apply caulk or heavy sealant to the bottom butt edges of cedar shingles. Cedar walls shed moisture by allowing water to drip down and escape out the bottom of each course. Sealing butt edges traps water, accelerating rot.
- Erratic Course Alignment: Failing to snap horizontal chalk lines every few courses causes coursing to drift upward or downward, creating wavy, distracting lines across your home's exterior elevation.
Long-Term Maintenance to Extend Cedar Shingle Lifespan
Once your cedar shingle siding replacement is finished, a minimal maintenance routine will protect your investment and extend the system's lifespan to 50 years or more.
- Annual Visual Inspections: Walk your property every spring and autumn to look for cracked shingles, lifted nails, or debris accumulation. Pay close attention to gables and shaded north-facing walls.
- Gentle Spring Hose Washing: Keep cedar clean by rinsing dust, pollen, and organic matter off the wood once a year with a standard garden hose. Spray downward from top to bottom. Never blast cedar shingles with a high-pressure power washer, which gouges soft wood fibers and forces water deep into wall cavities.
- Trim Surrounding Vegetation: Keep tree branches, bushes, and vines trimmed back at least 12 to 18 inches from your siding. Overhanging foliage blocks sunlight and airflow, creating a humid microclimate that fosters moss and algae growth.
- Reapply Penetrating Water Repellents: If your shingles are untreated, applying a clear, breathable oil-based water repellent every 3 to 5 years helps the wood reject liquid water while allowing vapor to escape freely.
Frequently Asked Questions About Cedar Shingle Replacement
How much does full cedar shingle replacement cost compared to partial repairs?
Full removal and re-siding of a typical 1,500-square-foot home with premium cedar shingles generally costs between $8,000 and $16,000, depending on wall height, architectural complexity, and underlying sheathing repairs. Localized spot repairs or partial wall sections typically cost between $1,500 and $4,000. While localized repairs are far more economical, choosing a full tear-off gives you the opportunity to upgrade house wrap, install modern rain-screen flashing, and permanently eliminate hidden structural rot.
What is the distinction between cedar shingles and cedar shakes?
Cedar shingles are sawn smooth on both sides using precision mill equipment, resulting in a uniform, tapered profile with clean lines ideal for traditional, Colonial, or Craftsman homes. Cedar shakes are split from timber logs, giving them a thick, highly textured, rustic face. Shakes are thicker at the butt end than shingles and are usually installed with interlaid felt paper between courses.
Does replacing cedar shingle siding require a municipal building permit?
Minor localized spot repairs involving just a few individual shingles rarely require a municipal permit. However, full wall re-siding or projects that alter structural framing, window openings, or weather barriers almost always require a building permit from your local municipality. Working with a licensed contractor ensures all work meets current International Residential Code (IRC) envelope standards and passes town inspections.
Conclusion
A successful cedar shingle siding replacement balances historic charm with modern moisture management techniques. By catching decay early, choosing No. 1 Blue Label materials, maintaining proper 1/8-inch expansion gaps, and using stainless steel ring-shank fasteners, you ensure your home's exterior stays dry, sound, and attractive for decades.
At Hogan Roof, we bring over 20 years of hands-on expertise to every home project across the New York, New Jersey, and Connecticut tri-state region. As an Owens Corning Platinum Preferred Contractor, our family-owned business prides itself on delivering honest advice, meticulous craft, and reliable warranty coverage for roofing, siding, and gutters.
Whether you need a quick repair or a complete exterior transformation, we are here to help. Schedule a free siding evaluation with Hogan Roof or visit our Contact page today to speak directly with our team!