Don't Slip Up: Essential Steps for Vinyl Siding Repair on Long Island
Vinyl Siding Repair Long Island: Start With the Damage
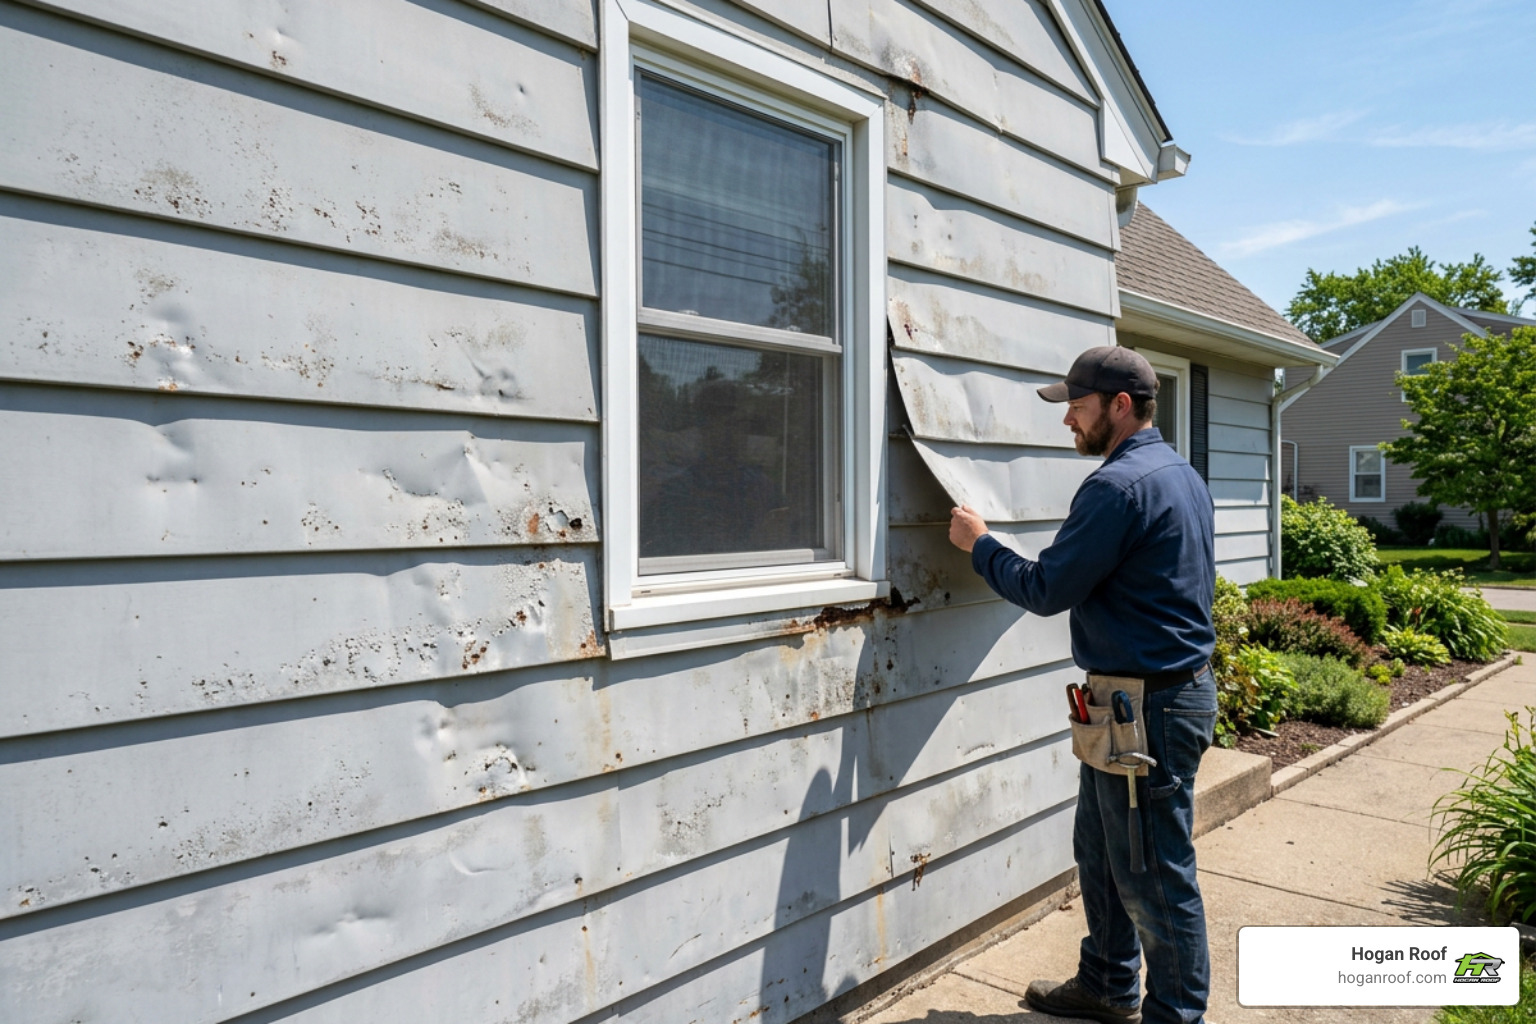
For vinyl siding repair Long Island homeowners can often fix one loose panel, small crack, or minor hole themselves. First, check that the damage is limited to the siding surface and that there is no soft wall sheathing, mold, water staining, or widespread warping behind it. If wind has pulled off several panels, water may be getting in, or the siding is badly faded or brittle, call a siding professional before making a cosmetic patch.
Long Island's storms, humidity, salt air, and fast temperature swings can loosen panels, widen cracks, and cause moisture problems behind siding. A quick repair protects curb appeal, but a careful inspection protects the wall beneath it. For broader context on how vinyl compares with other cladding materials, the Vinyl siding entry from Wikipedia explains the material's composition and common installation methods.
I am Bill Hogan, owner of Hogan Roof, with more than 20 years of experience helping NY/NJ/CT property owners protect their exteriors. In this guide, I will walk you through practical vinyl siding repair Long Island steps, when to handle a small repair yourself, and when professional service is the safer investment.
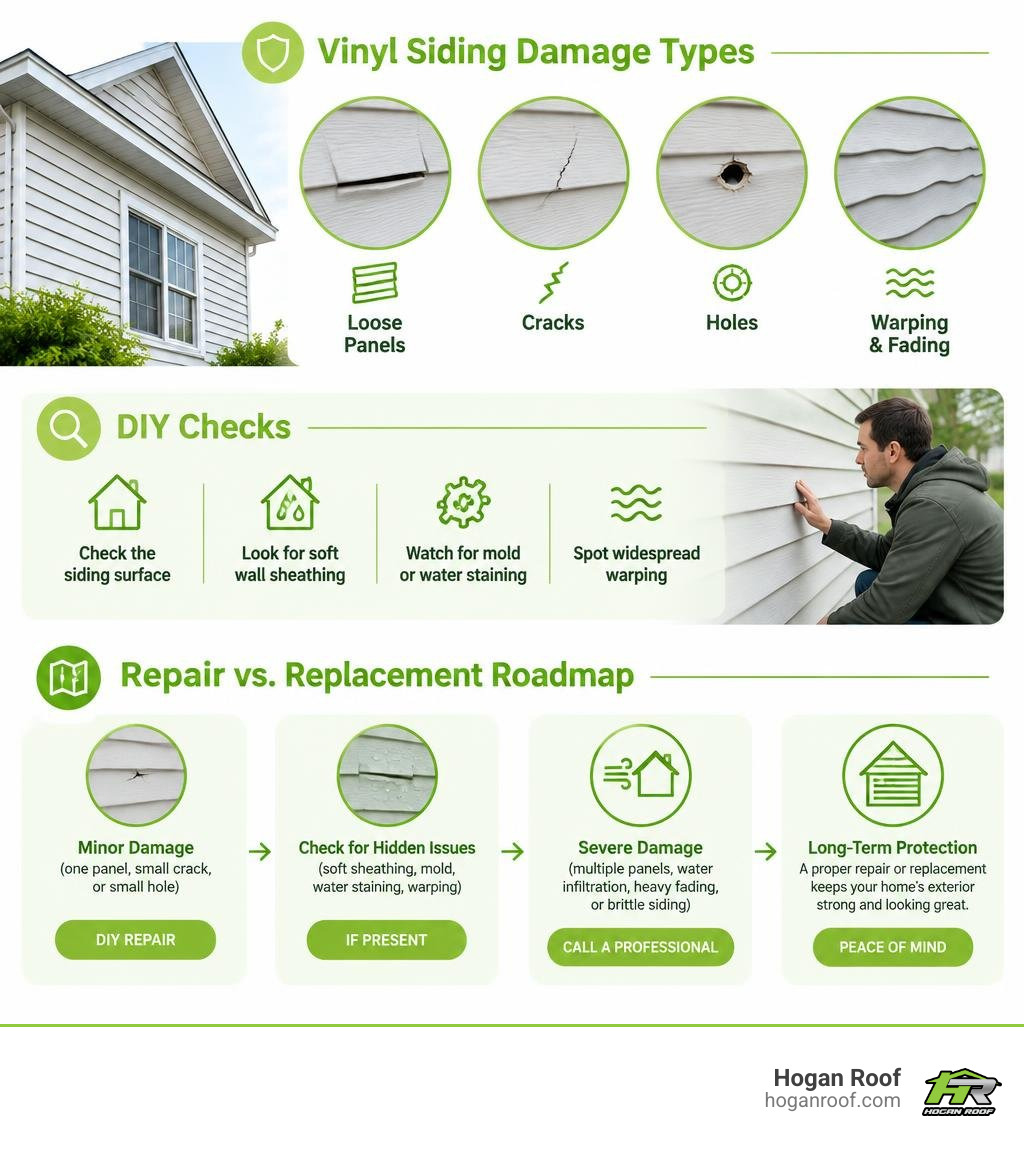
Simple vinyl siding repair Long Island word guide:
Coastal Climate Challenges and Vinyl Siding Repair Long Island Needs
Living on Long Island means enjoying incredible coastlines, but our homes take the brunt of some harsh coastal elements. Vinyl siding is the most popular exterior cladding in the nation—protecting roughly 32% of new single-family homes—because it is resilient, cost-effective, and low-maintenance. However, our local environment creates distinct stress factors that test even top-tier installations.
About 1 in 5 Long Island homes with vinyl siding will require some level of repair within 10 years of installation. Why is this rate so pronounced here? It comes down to four primary climate drivers:
- Coastal Nor'easters and High Winds: Severe coastal storms generate sustained winds and powerful gusts. These gusts create negative pressure along exterior walls, lifting unsecured panel edges, rattling locking channels, or ripping loose siding sections entirely off the sheathing.
- Salt Air and Airborne Grit: Ocean breezes carry microscopic salt particles and fine sand. While vinyl does not rust like metal, salt crust and abrasive sand strip protective finishes, accelerate UV degradation, and wear down weep holes.
- Thermal Expansion Swings: Long Island weather can shift from humid 90°F summer afternoons to freezing winter nights. Vinyl expands and contracts significantly across these temperature swings. If panels are nailed down too tightly without room to slide, they buckle, warp, or crack along nail hems.
- Moisture Traps and Humid Microclimates: High regional humidity creates ideal conditions for hidden rot. When wind-driven rain penetrates unlatched siding seams, water gets trapped behind the vinyl against the house wrap or wood sheathing.
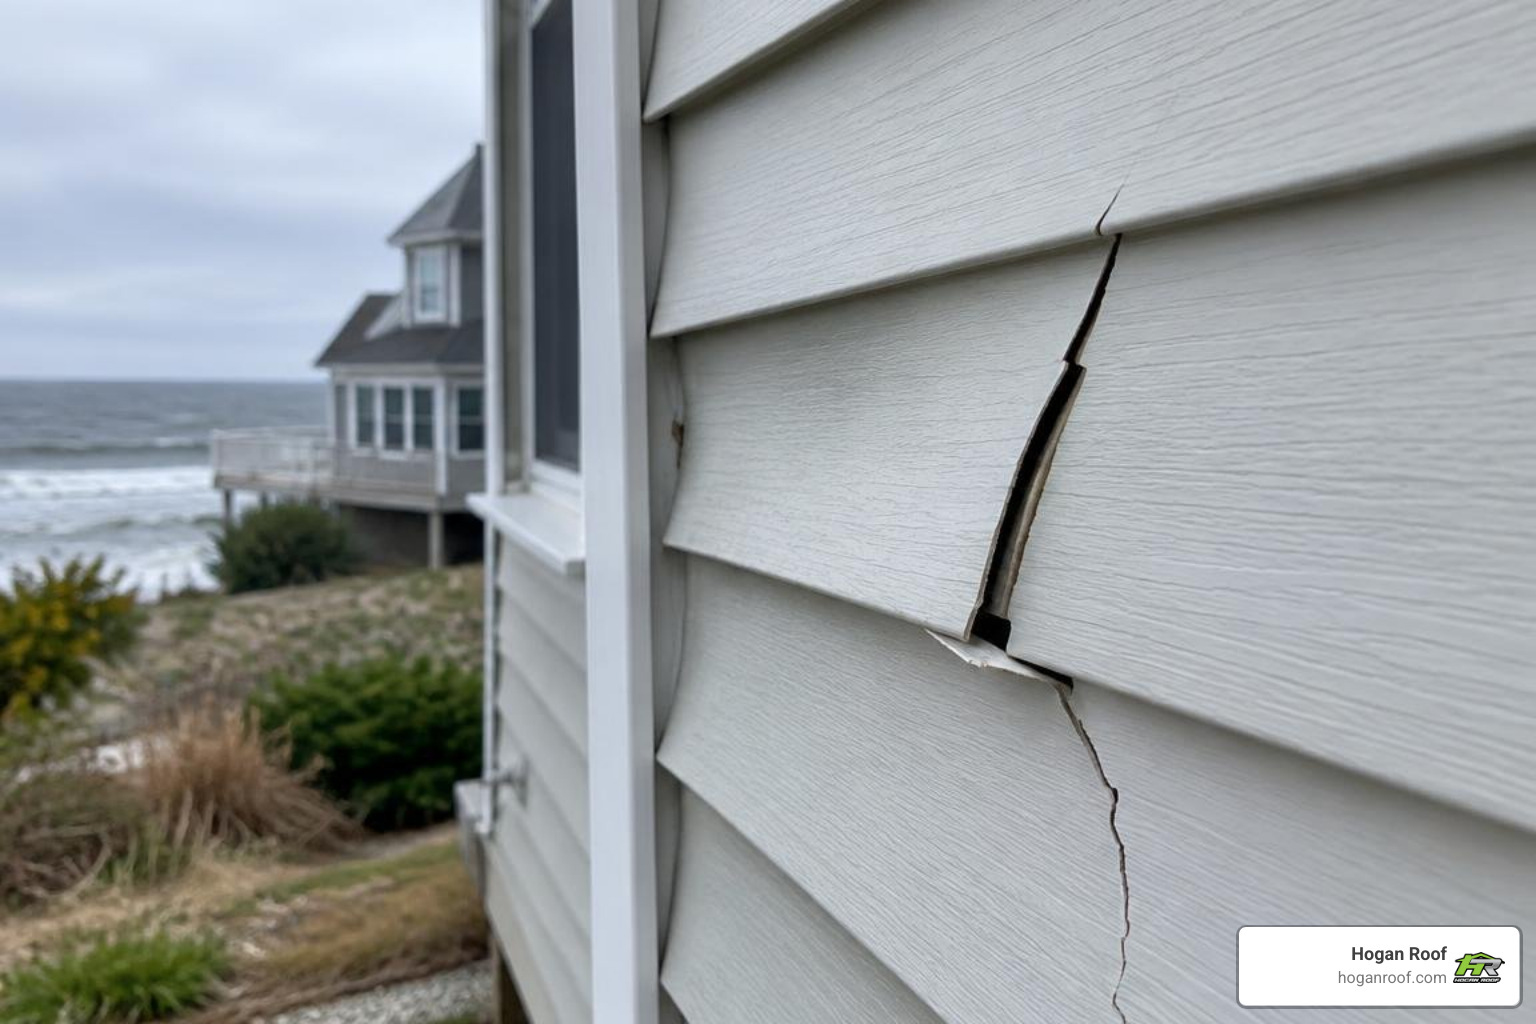
When left unaddressed, minor cracks act as funnels for driving rain, leading to structural wood decay, insect infestations, and damaged insulation. Taking proactive steps for protecting your home with quality vinyl siding in Nassau County NY begins with understanding how our local environment affects every square foot of your exterior envelope.
Planning Your Project: DIY Assessment, Costs, and Permits
Before picking up a tool, you need to determine whether the issue in front of you is a manageable weekend chore or a job requiring a licensed contractor.
You can generally handle a DIY repair if:
- The damage is confined to 1 or 2 panels at ground level.
- The puncture or crack is smaller than a baseball.
- The weather-resistant barrier (house wrap) and wood sheathing underneath are dry, flat, and intact.
- You do not need to work from high ladders or near overhead power service drops.
You should hire a licensed professional if:
- Multiple panels across different wall elevations are buckled, warped, or missing.
- You detect musty odors inside, notice soft spots on the wall, or find decayed wood behind loosened siding.
- The affected areas are on upper stories where ladder safety and staging become hazardous.
- The siding style or color is discontinued and requires expert custom-matching or architectural blending.
| Repair Scope | DIY Typical Cost | Professional Cost (Long Island Average) | Project Timeline |
|---|---|---|---|
| Small Crack / Puncture Patch | $25 – $60 (Materials only) | $150 – $350 | 1 – 2 Hours |
| Single Panel Replacement | $40 – $90 (Panel + tools) | $250 – $500 | 2 – 4 Hours |
| Multi-Panel Storm Repair | $120 – $250 (Materials) | $450 – $1,200 | Half-day to Full Day |
| Underlayment / Sheathing Repair | Not recommended for DIY | $1,200 – $3,500+ | 1 – 3 Days |
When complex wind damage or water intrusion threatens your underlying structure, exploring comprehensive Long Island siding company services ensures you get long-lasting protection backed by workmanship warranties.
Budgeting for Vinyl Siding Repair Long Island Costs and Permits
Nationwide, standard vinyl siding repairs average between $200 and $600 per incident. On Long Island and across New York State, homeowners should budget roughly 10% to 15% higher due to regional material costs, disposal fees, and skilled labor rates.
When it comes to permits, municipal guidelines across Nassau and Suffolk Counties generally exempt minor cosmetic siding repairs (such as replacing one or two broken panels) from formal building permit requirements. However, if your repair involves replacing structural wall sheathing, altering window framing, or re-siding more than 20% to 50% of your total wall area (thresholds vary by town, such as the Town of Hempstead, Town of Oyster Bay, or Town of Brookhaven), a building permit is typically mandatory. Always check with your local municipal building department before undertaking structural overhauls.
Essential Tools and Sourcing Materials Locally
Having the right tools is the difference between a clean 20-minute repair and a cracked panel that ruins your afternoon.
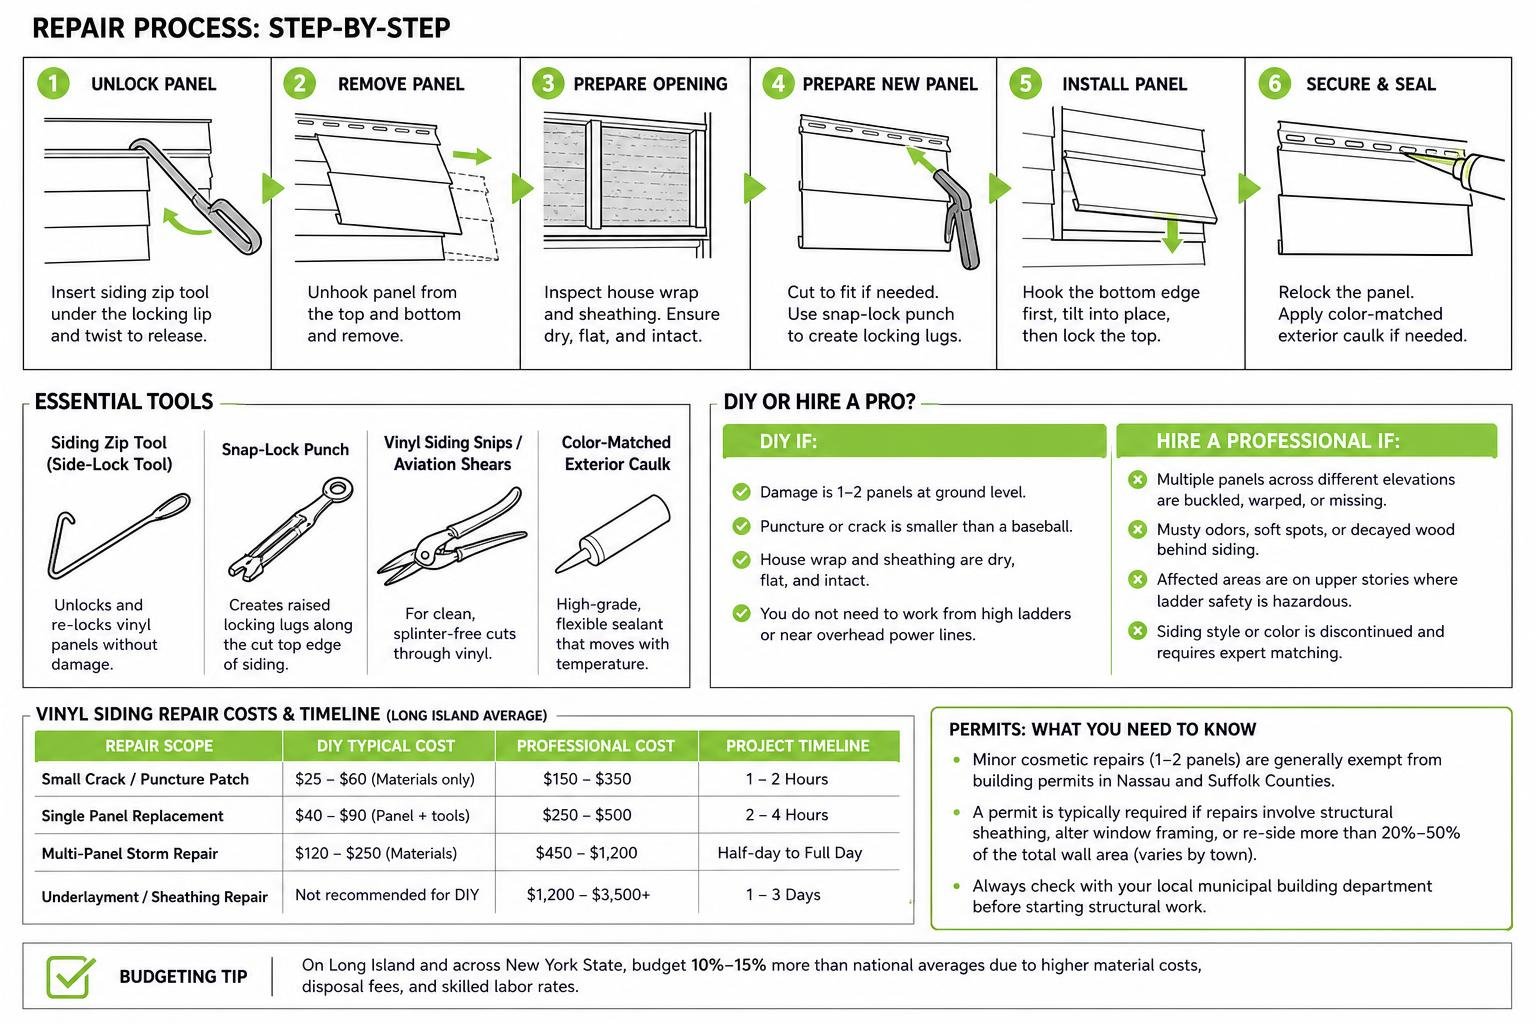
Gather these specialized tools before you start:
- Siding Zip Tool (Side-Lock Tool): An inexpensive, hooked metal hand tool used to unlock and re-lock vinyl panels without damaging the vinyl flanges.
- Snap-Lock Punch: Creates raised locking lugs along the cut top edge of utility-trimmed siding.
- Vinyl Siding Snips / Aviation Shears: For clean, splinter-free cuts through cold or rigid vinyl.
- Color-Matched Exterior Siding Caulk: High-grade, flexible polyurethane or 100% silicone sealant that flexes with temperature changes.
- Hot-Dipped Galvanized or Stainless Steel Roofing Nails: Corrosion-resistant 1-1/2 inch to 2-inch roofing nails with large heads.
- Utility Knife with Hook Blades: Prevents jagged tear lines on thin vinyl sheets.
For materials, you can pick up generic accessories and basic patch kits at local big-box stores like Home Depot or Lowe's across Long Island. However, for precise profile matching, heavy-gauge commercial panels, or specific brand colors, visit dedicated local building supply houses and lumber yards in Hicksville, Riverhead, Farmingdale, or Medford.
Step-by-Step Instructions: How to Repair Damaged Vinyl Siding
Follow these detailed field-tested steps to isolate damage, prepare the surface, and restore your home's exterior envelope safely.
Patching Cracks and Small Punctures
Small holes caused by stray rocks from the lawnmower or hairline cracks from cold-weather impacts can be sealed without pulling down entire wall sections.
- Clean the Area: Wash the damaged area with warm water and mild dish soap to remove dirt, mildew, and salt residue. Wipe completely dry with a microfiber cloth.
- Trim Ragged Edges: Use a utility knife to smooth rough plastic burrs around the puncture hole.
- Apply Backing Mesh (For holes over 1/2 inch): Slide a small piece of self-adhesive fiberglass mesh tape through the hole using tweezers or a putty knife so it anchors behind the opening.
- Inject Siding Caulk: Inject color-matched, UV-resistant exterior vinyl sealant into the void, pressing it firmly into the backing mesh.
- Smooth and Texture: Smooth the caulk flush with a damp putty knife. For a seamless finish, use a textured sponge or scrap piece of vinyl to lightly press the grain pattern into the wet caulk.
- Curing: Let the sealant cure for at least 24 hours before washing or painting.
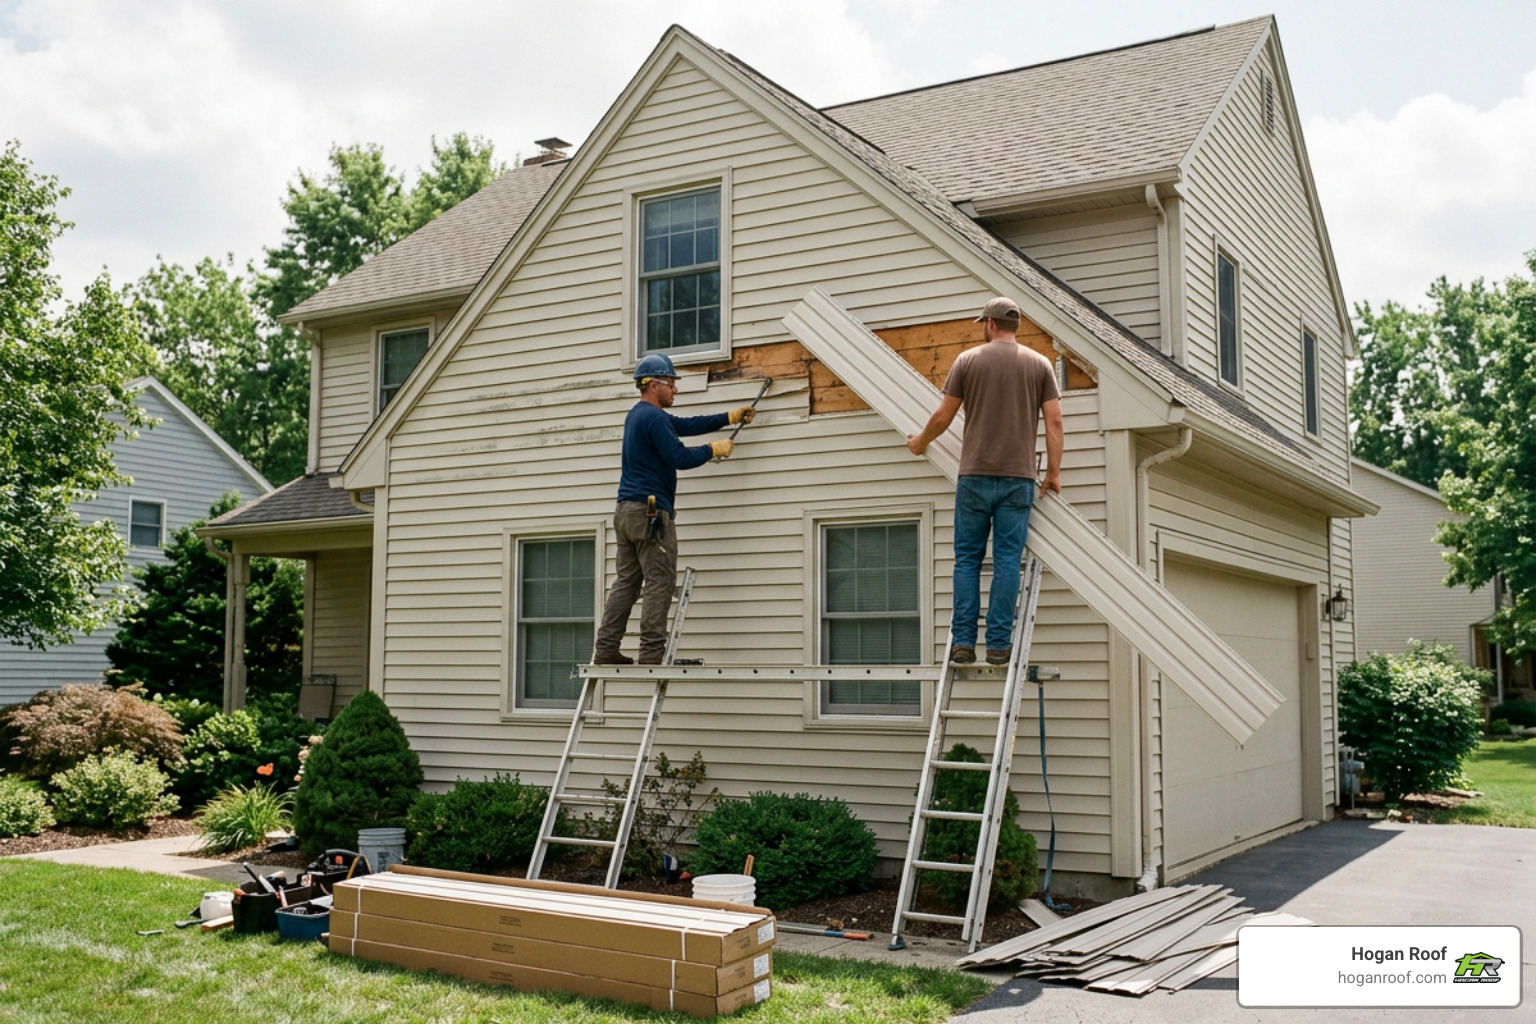
Replacing Warped or Loose Vinyl Siding Panels
When a panel is badly cracked, buckled, or warped from direct grill heat, replacing the whole strip is the cleanest, most durable solution.
- Unlock the Damaged Panel: Slide your zip tool under the bottom locking edge of the panel above the damaged piece. Slide the tool horizontally along the seam while gently pulling downward to disengage the interlocking hook.
- Expose and Remove Fasteners: Lift the unlocked upper panel to reveal the nailing hem of the damaged panel underneath. Use a flat pry bar to carefully pull the nails out. Place a wood block under the pry bar to avoid denting adjacent siding.
- Disengage the Lower Lock: Use your zip tool on the bottom seam of the damaged panel to separate it from the course beneath it, then slide the ruined panel out.
- Inspect the Weather Barrier: Check the exposed house wrap and sheathing for moisture or rot. Seal any small tears in the house wrap with approved flashing tape.
- Size and Cut the New Panel: Measure the old piece and cut your new panel using aviation snips, allowing a 1/4-inch expansion gap at all corner posts and J-channels (increase to 3/8-inch if working in temperatures below 40°F). If you are looking at different material profiles, review how to choose the right vinyl siding in Suffolk County to match the exposure reveal accurately.
- Hang the New Panel: Lock the bottom lip of your replacement piece into the panel below it until it clicks firmly into place.
- Fasten Loosely: Drive galvanized roofing nails into the center of the pre-punched nailing slots every 12 to 16 inches. Crucial Rule: Do not drive nails tight against the vinyl. Leave roughly 1/32 to 1/16 of an inch (the thickness of a dime) between the nail head and the siding so the panel can freely slide back and forth during thermal expansion.
- Lock the Upper Panel Back Down: Pull down the overlapping panel above using your zip tool, running it along the bottom seam until the lock snaps fully into the top hem of your new panel.
Color Matching Secrets for Seamless Vinyl Siding Repair Long Island Projects
One of the biggest frustrations during siding repairs is color variance. Even if you have leftover siding in your garage, the panels on your South Shore home have experienced years of UV exposure and weathering.
- Harvest Donor Panels: If you cannot find a direct color match, remove an original panel from an inconspicuous area (such as behind an air conditioning unit, outdoor shower, or low behind garage shrubs). Install that weathered donor piece on the visible damaged wall, then place your newly purchased, slightly unmatched panel in the hidden spot.
- Match the Profile Shape: Siding profiles differ. Verify whether your home uses Double 4-inch, Double 5-inch, Dutch Lap, or Board-and-Batten. Taking a 6-inch cutoff sample to a specialty siding distributor will help you confirm the exact manufacturer lock system and profile depth.
- Paint-Matching with Vinyl-Safe Acrylics: If replacement siding stands out noticeably, high-quality 100% acrylic exterior paints can blend the repair into the wall. Make sure the paint formula is labeled "Vinyl-Safe" and matches the Light Reflectance Value (LRV) of the original color to avoid solar heat absorption that can warp the vinyl. You can discover more architectural ideas in our overview on upgrading your exterior with the best vinyl siding in Nassau County.
When to Repair vs. Invest in Full Siding Replacement
Spot repairs work wonders for localized damage, but there comes a point where continuing to patch aging siding becomes an expensive band-aid. According to a regional survey, 68% of Long Island homeowners who repaired their vinyl siding reported an immediate improvement in curb appeal and resale value—yet full replacement offers vastly superior long-term energy savings and protection when the system reaches its end of life.
Consider full replacement if you notice:
- Widespread Brittleness: If panels crack from minor touches or light pressure, the plasticizers have baked out of the vinyl.
- Extensive Thermal Warping: When large sections of multiple walls show rippling, the original installation likely lacked adequate expansion gaps, trapping structural stress throughout the entire system.
- Persistent Moisture or Drafts: High indoor heating bills, damp interior drywall, or peeling indoor paint often signal widespread failure of the underlying moisture barrier.
- Frequent Re-repairs: If you find yourself replacing panels after every moderate storm, the locking channels across the whole house have likely stretched and degraded.
Homeowners weighing their renovation options can review our comprehensive guide on house siding replacement to compare long-term material performance and insulation advantages.
Frequently Asked Questions About Long Island Siding Maintenance
How does coastal weather accelerate vinyl siding damage on Long Island?
Long Island is uniquely exposed to ocean-fed weather systems. Salt-laden air leaves mineral deposits that dry out protective chemical additives in vinyl. Combined with direct UV exposure and coastal wind gusts, panels become brittle over time. When severe Nor'easters strike, wind vibrations shake loose panels, rattle nailing channels, and force rain behind unsealed seams.
Can I paint replacement vinyl siding to match faded panels?
Yes, but you must use high-grade 100% acrylic latex exterior paint specifically engineered for vinyl. Never paint vinyl siding a darker color than the original shade unless the paint contains specialized vinyl-safe reflective pigments. Dark paints absorb solar heat, which can quickly soften, buckle, and permanently warp the underlying vinyl cladding.
Do I need a building permit for minor siding repairs on Long Island?
For minor cosmetic repairs—such as swapping out a few damaged panels or patching small punctures—most Long Island towns do not require a building permit. However, if your repair involves replacing exterior structural sheathing, repairing wall studs, or refitting major portions of an entire wall facade, check with your local town building department before proceeding.
Conclusion
Taking care of small vinyl siding repairs promptly prevents hidden structural rot, stops moisture intrusion in its tracks, and keeps your home looking sharp. By using the right tools, maintaining proper expansion gaps, and knowing when to call in professional assistance, you can keep your home safe through every coastal storm season.
At Hogan Roof, we bring over 20 years of exterior remodeling experience across the NY/NJ/CT tri-state area. As an Owens Corning Platinum Preferred Contractor, our factory-certified team provides residential and commercial roofing, gutter, and siding installations built to withstand severe coastal conditions.
If your home's exterior has suffered storm damage, or if you are ready for a complete exterior upgrade with flexible financing options, contact Hogan Roof today to schedule your free inspection and explore our expert siding services.