Winter Roof Checklist for Long Island Homes: Ice Dams, Nor'easters and Snow
What Should Be on a Winter Roof Checklist for Long Island Homes?

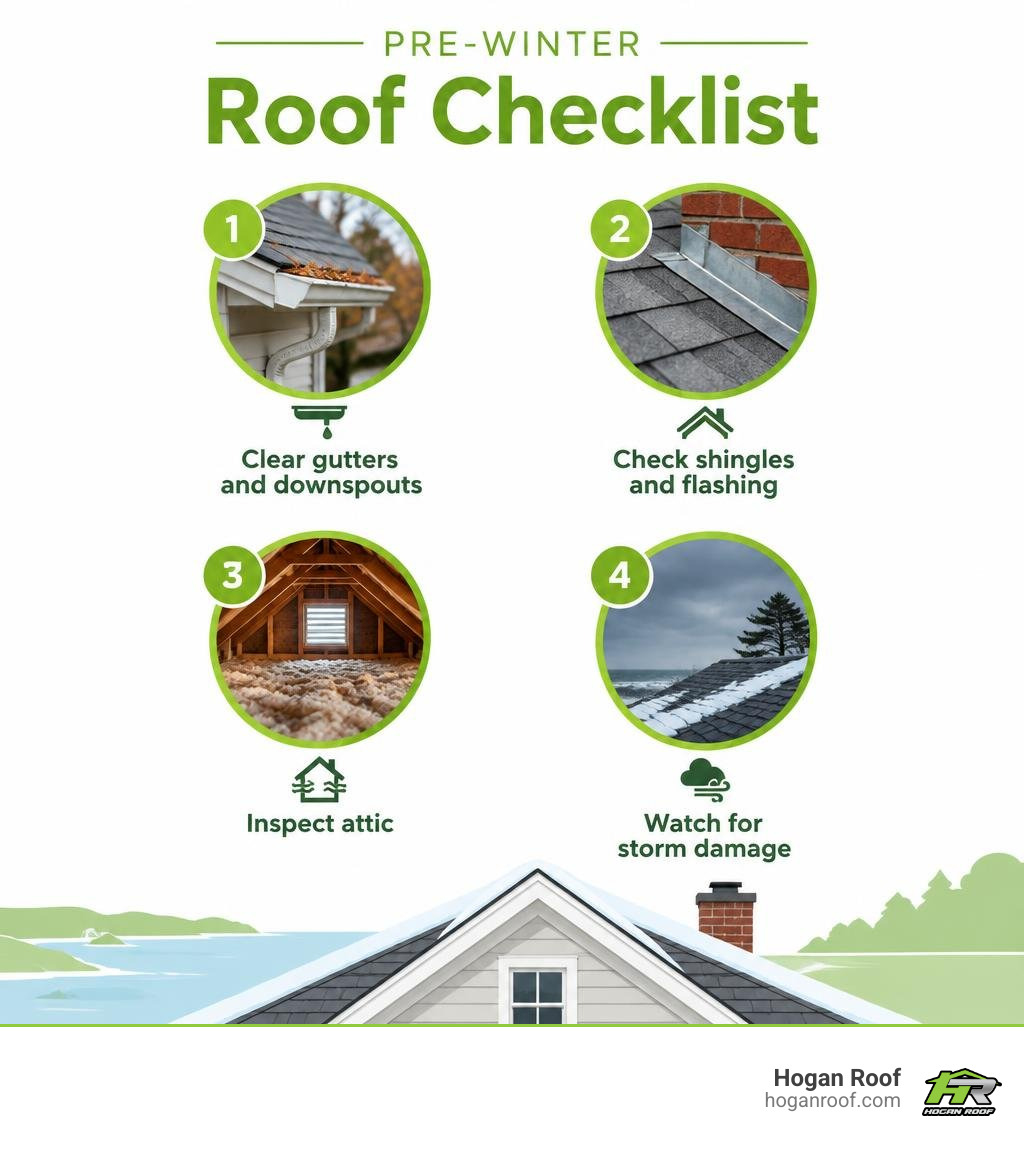
A winter roof checklist for Long Island starts before the first freeze: clear gutters and downspouts, check shingles and flashing for damage, and look for gaps in attic insulation or blocked vents. Make sure downspouts carry water away from the foundation. After each nor'easter, check for new damage from the ground, and never climb onto an icy roof .
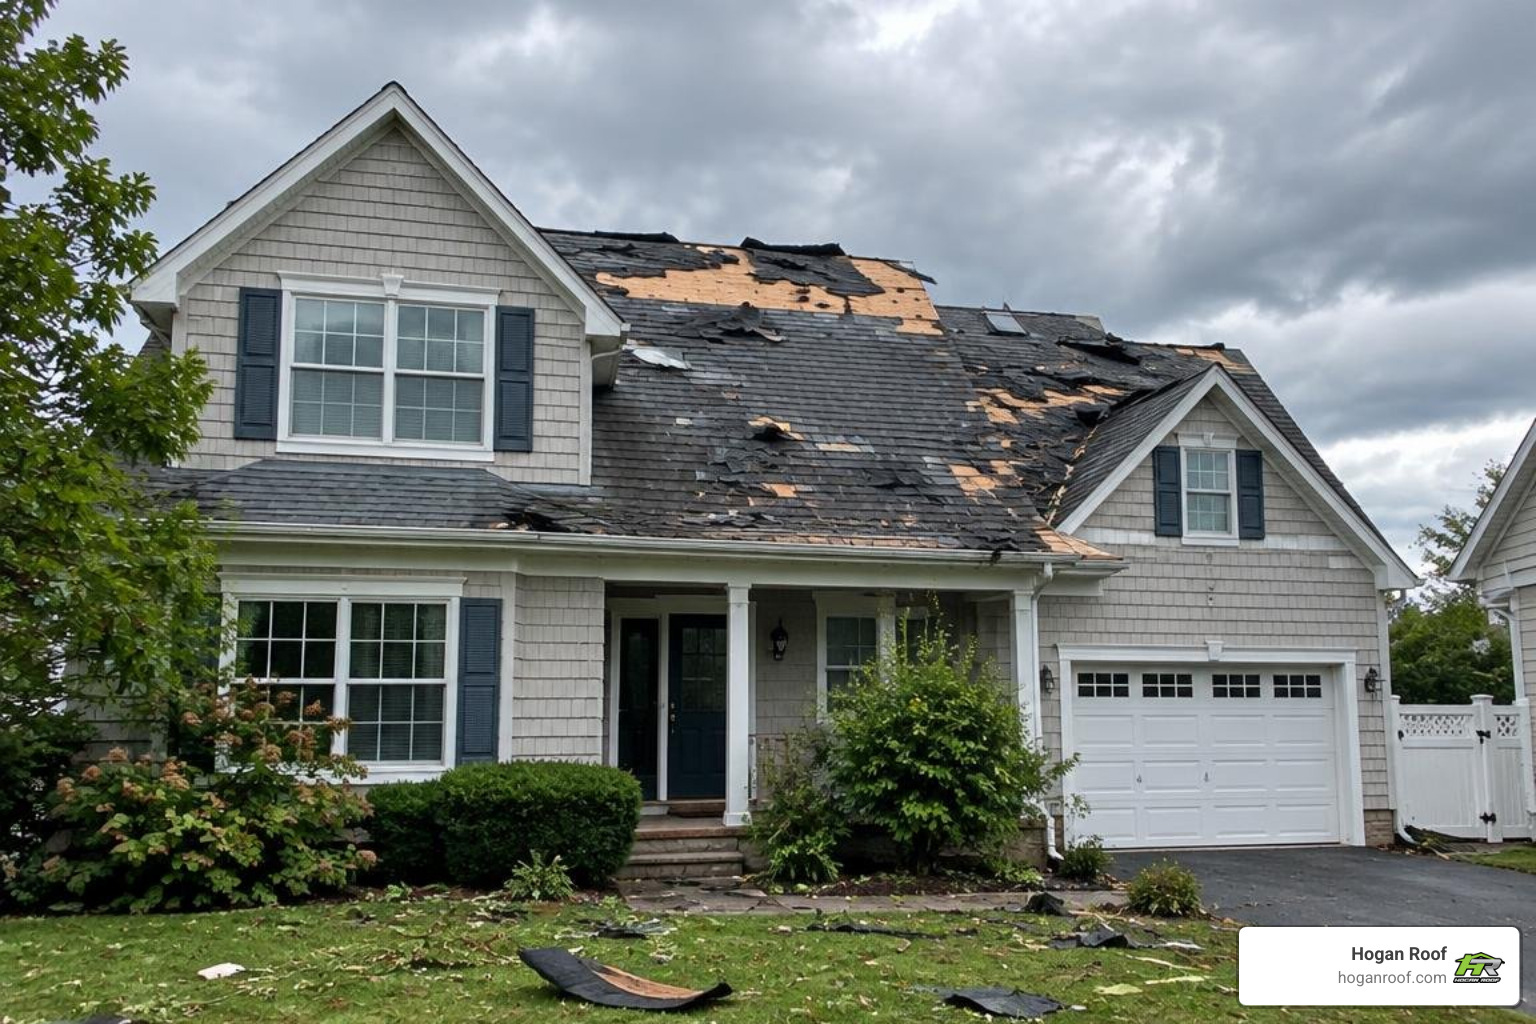
Wind, wet snow, and repeated freezing can turn a small roof problem into a winter leak. If you see missing shingles, loose flashing, sagging gutters, or a ceiling stain, arrange a professional inspection.
I'm Bill Hogan, owner of Hogan Roof. I wrote this winter roof checklist long island guide based on more than 20 years of roofing experience in Nassau County, Suffolk County, and Queens.
Why Is a Winter Roof Checklist for Long Island Homes Essential?
Living on Long Island means enjoying gorgeous summers along the Sound and the South Shore, but our winters deliver a tough mix of coastal nor'easters, freezing rain, and heavy, moisture-laden ocean snow. These coastal weather patterns create brutal freeze-thaw cycles that test every layer of your roofing system.
When winter storms sweep across Nassau and Suffolk counties, they bring high winds that lift shingle edges and drive salt-laden moisture into vulnerable seams. If your roof has small, unaddressed flaws in November, freezing temperatures will quickly widen those gaps by January.
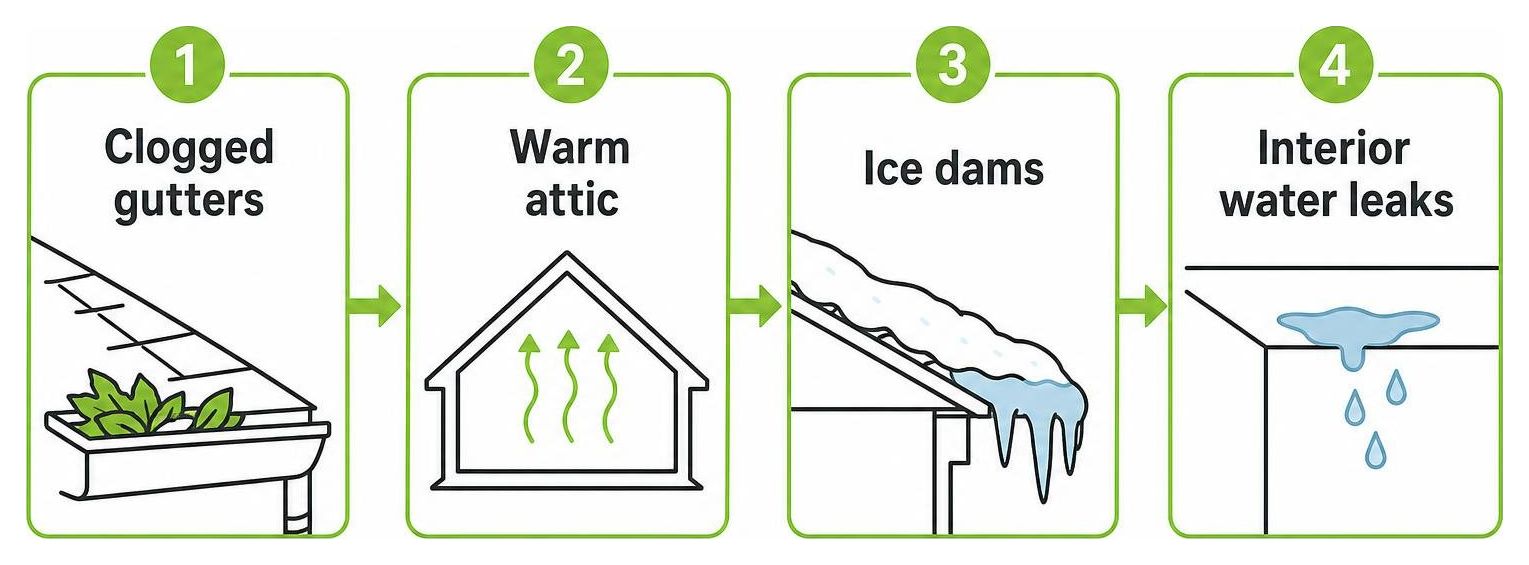
Ice dams are among the most expensive hazards Long Island homeowners face. On average, ice dam incidents cause an estimated $3,000 to $5,000 in roof, drywall, and insulation damage in cold coastal climates. When melting snow cannot drain properly, water backs up under the shingles, seeps into the wooden roof deck, and ruins ceilings below.
Following a comprehensive Long Island winter home maintenance checklist is vital for whole-house protection. In fact, over 70% of winter roof leaks on Long Island are directly linked to clogged gutters and poor water drainage. Investing a little time in seasonal preparation and proactive roof maintenance pays off: industry data shows that homes receiving regular pre-winter inspections experience a 30% decrease in emergency repair costs.
How Should You Prepare Gutters, Downspouts, and Shingles Before Freezing Temperatures?
Your drainage system and outer roof covering serve as your primary defense against winter weather. When these components fail, moisture quickly finds its way into your home's structural framing.

Clearing Gutters on the Winter Roof Checklist for Long Island
Cleaning your gutters thoroughly before the ground freezes is one of the most effective steps you can take. Pine needles, oak leaves, and twigs settle into gutter troughs throughout late autumn, creating dense dams that trap water.
- Prevent Ice Dams: When meltwater cannot escape through downspouts, it pools in the gutter trough, freezes solid, and expands beneath the lower roof edge. Proper gutter cleaning and roof checkups before winter can reduce the risk of ice dam formation by up to 50%.
- Protect the Roofline: Trapped water turning into ice adds tremendous weight to your eaves, which can pull gutter fasteners directly out of rotted fascia boards.
- Direct Downspouts Away: Ensure downspout extensions discharge water at least 5 to 6 feet away from your foundation. Frozen topsoil cannot absorb surface water, meaning misdirected runoff can pool around your foundation walls and cause basement seepage.
Inspecting Shingle Integrity and Flashing Seals
Your shingles and metal flashing keep out driving rain and nor'easter winds. Reviewing your residential roofing before freezing temperatures set in ensures your roof remains watertight all winter long.
- Check for Loose or Missing Shingles: Cold winter air makes asphalt brittle. Wind gusts can easily snap shingles that were already cracked or unsealed in autumn.
- Inspect Chimney and Wall Flashing: Flashing seals joints around vertical transitions. Check for cracked caulking, rusted metal, or pulled-away step flashing along masonry and siding.
- Examine Skylights and Vent Boots: Neoprene plumbing boots can dry out and split, while skylight seals can loosen under shifting temperatures. Resealing these joints before freezing weather hits prevents sudden mid-winter drips.
How Do Attic Insulation and Ventilation Prevent Long Island Ice Dams?
While gutters channel water away on the outside, the real battle against ice dams happens directly inside your attic. Ice dams are primarily an attic airflow and thermal issue rather than just a cold-weather problem.
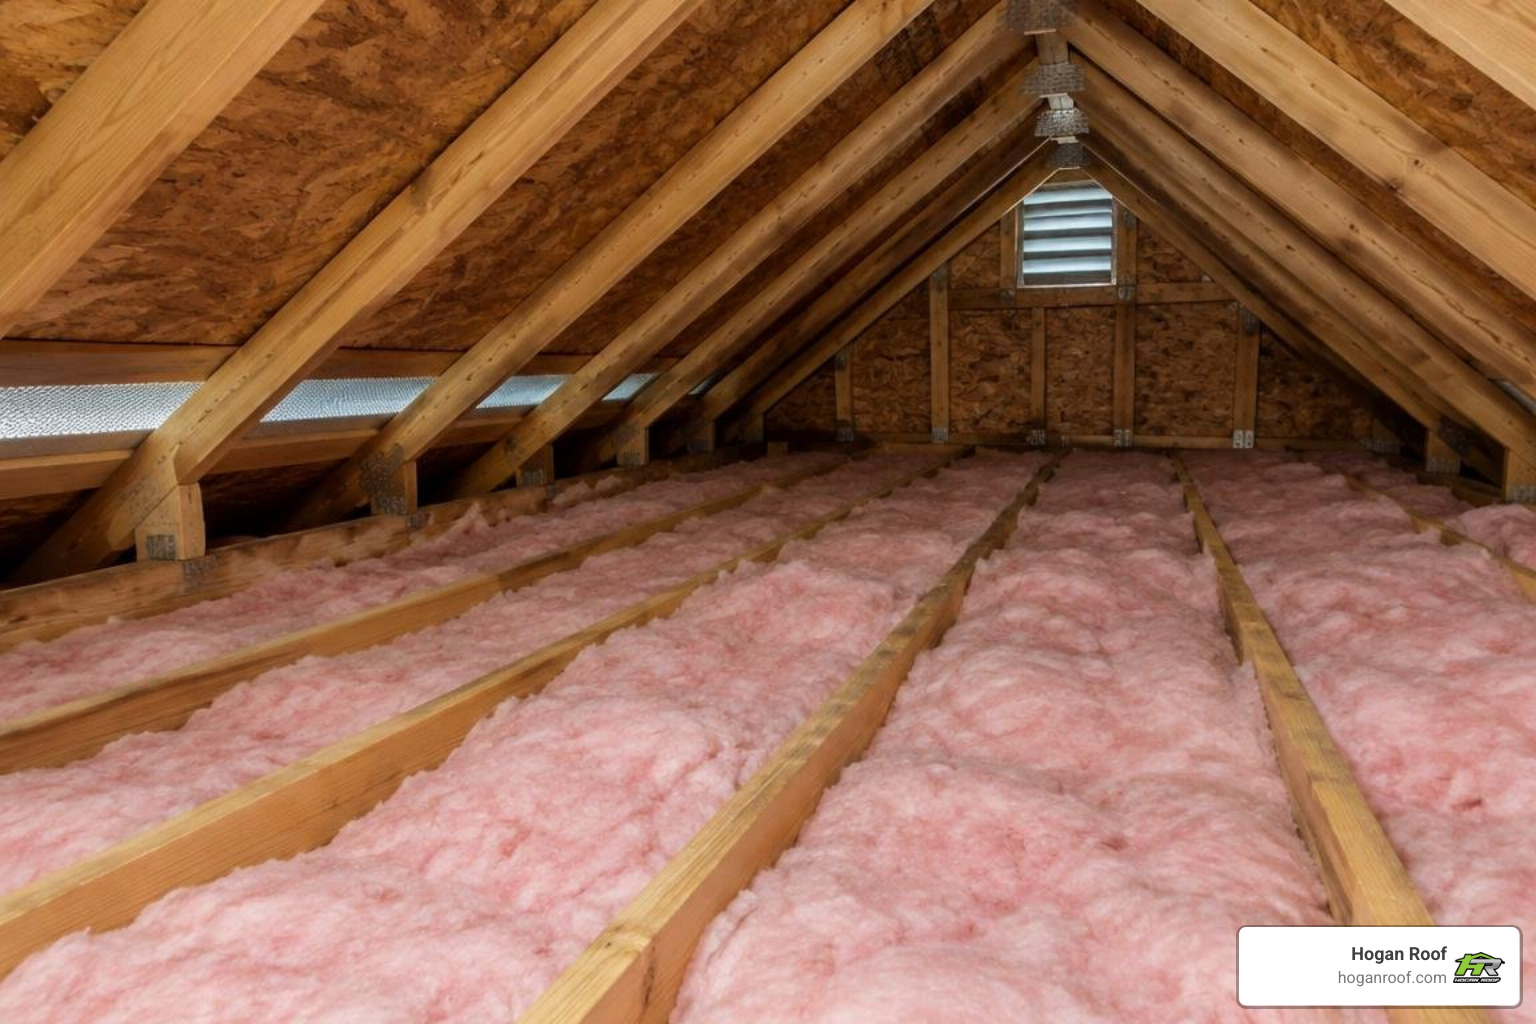
When warm indoor air escapes into an uninsulated attic, it warms the underside of the roof deck. This heat melts the bottom layer of snow resting on your roof. The water flows down the slope until it reaches the cold eaves and overhangs—areas that do not sit above heated living space. Once the meltwater reaches the cold edge, it refreezes instantly, building an icy barrier that traps subsequent runoff.
Attic Insulation on Your Winter Roof Checklist for Long Island
Maintaining consistent attic floor insulation stops interior heat from warming your roof deck:
- Air-Seal Ceiling Penetrations: Seal open gaps around recessed lights, attic hatch covers, plumbing stacks, and electrical conduits to keep heated air inside your living quarters.
- Verify Adequate Insulation Depth: Ensure your attic meets modern thermal resistance standards. Consistent insulation coverage keeps the upper roof deck cold, allowing snow to melt evenly rather than creating hot spots.
- Keep Insulation Dry: Check that insulation has not been compressed by storage boxes or dampened by minor seasonal leaks, as wet insulation loses its insulating value.
Ensuring Proper Attic Airflow and Soffit Ventilation
Insulation works best when paired with continuous ventilation:
- Clear Soffit Baffles: Inflow vents along your soffits must remain completely clear of blown-in insulation so cold, fresh air can enter at the eaves.
- Balance Intake and Exhaust: Ridge vents or gable vents let warmer air escape naturally, balancing attic temperatures with the outdoor air.
- Stop Condensation and Mold: Proper airflow removes moisture generated by cooking, showers, and laundry before it condenses on cold roof rafters, preventing rot and winter mold growth.
What Are the Critical Winter Roof Safety Measures for Homeowners?
Winter roof maintenance demands caution. Cold temperatures create invisible layers of black ice across roof surfaces and ladder rungs, turning simple tasks into severe fall hazards.
- Never Walk on an Icy Roof: Once temperatures drop below freezing, stay off the roof. Shingles become extremely slippery and brittle underfoot, making slips likely and potentially cracking cold shingles.
- Perform Ground-Level Checks: Use a pair of high-powered binoculars to safely examine your roofline, chimney flashing, and gutters from the safety of your yard.
- Use Roof Rakes Correctly: If heavy, wet snow accumulates after a major storm, use a lightweight, telescoping roof rake while standing firmly on the ground. Clear only the bottom few feet of snow along the eaves to let meltwater escape, and avoid scraping down to the bare shingle granules.
| Task | DIY Ground Maintenance (Safe) | Professional Contractor Required (High Risk) |
|---|---|---|
| Gutter Assessment | Clearing downspout ground outlets and visual checks | Walking steep pitches to clear frozen gutter troughs |
| Shingle Inspection | Binocular review from ground level | Tabbing down loose shingles on two-story roofs |
| Attic Review | Checking attic floor insulation & looking for damp spots | Sealing exterior roof deck penetrations during freezes |
| Snow Management | Using a telescoping rake from the yard | Removing heavy ice dams with commercial steam gear |
| Flashing Repair | Noting visual rust or separation from ground | Applying cold-weather sealants along high dormers |
When Should You Schedule a Professional Inspection on Long Island?
While regular homeowner checks from the ground are helpful, certain warning signs require professional expertise. Calling a roofer early can protect your home from sudden mid-storm emergencies.
Consider bringing in a professional when you notice:
- Interior Ceiling Stains or Peeling Paint: Water marks on top-floor ceilings or near exterior walls indicate that water is already bypassing your shingles.
- Visible Shingle Displacement: Finding broken shingle tabs on your lawn after a windy coastal gale means underlying underlayment is exposed to rain and freezing moisture.
- Sagging Gutters or Damaged Fascia: If your gutters pull away from the roofline under heavy ice, professional re-hanging or fascia board replacement is required.
- Persistent Ice Dam Buildup: If thick ice ledges form along your eaves after every moderate snowfall, your roof likely has underlying ventilation or structural heat-loss issues.
Modern evaluations are faster and safer than ever. Many specialists now offer advanced roof inspection with drones to examine steep slopes, delicate valleys, and high flashing points without disturbing brittle winter shingles. Scheduling a comprehensive professional roof inspection before deep winter sets in gives you time to fix minor issues before they become expensive repairs.
Frequently Asked Questions About Long Island Winter Roof Care
How do ice dams form on Long Island roofs?
Ice dams form when heat escapes from your living space into an under-insulated attic, warming the roof deck and melting the snow above. As this water runs down toward the unheated eaves and gutters, it hits freezing outdoor air and solidifies. This ice barrier traps subsequent meltwater, forcing it under shingles and into your home.
Can I remove snow and ice from my roof myself?
You can safely remove fresh snow from your eaves using a telescoping roof rake while standing firmly on the ground. Never climb onto a snowy or icy roof, and avoid using salt pellets, axes, or hammers to break ice dams, as these methods can crack frozen shingles and damage your gutters. For severe ice buildups, hire a professional roofing contractor equipped with low-pressure steaming systems.
How often should I inspect my roof during winter?
We recommend performing a comprehensive ground-level visual inspection in late autumn before the first freeze, followed by quick exterior reviews after every major nor'easter or heavy snowstorm. In addition, head up to your attic once a month during freezing weather to check for signs of dampness, frost, or water stains on the underside of the roof deck.
What signs indicate storm damage after a winter nor'easter?
Key indicators of storm damage include missing, bent, or torn shingles, displaced flashing along chimneys and dormers, sagging gutters, and granule piles at downspout exits. Inside your home, look for damp insulation, dark wood stains along rafters, or brown rings on upper-floor ceilings and walls.
Conclusion
Getting your home ready for winter is all about prevention. By cleaning gutters, securing loose shingles, sealing flashing transitions, and ensuring your attic stays well-insulated and ventilated, you can protect your Long Island home against freezing temperatures and coastal nor'easters.
Hogan Roof is an Owens Corning Platinum Preferred Contractor with over 20 years of hands-on roofing experience across Nassau County, Suffolk County, and Queens. Contact us today to schedule your free roof inspection and head into the winter season with total peace of mind!